Garage Cleanout Made Simple: A Weekend Game Plan
If you’re like most American homeowners, your garage has slowly turned into a storage unit with a car squeezed in sideways. Boxes from a move three years ago, half-cans of paint, broken lawn equipment, mystery cords — it all piles up until one Saturday you can’t find the rake, the cooler, or your car. The good news? A full garage cleanout doesn’t require a week of vacation days. With a realistic plan, you can transform your garage in a single weekend. Here’s how to do it without burning out.
Why Garages Get Out of Control
Garages are the default landing zone for anything that doesn’t have a home. Seasonal decorations, sports gear, tools, leftover building materials — it all migrates to the garage because it’s easy. The problem is that without zones and systems, the clutter compounds. A cleanout is your chance to reset the space and, more importantly, set it up so it stays usable.
Before You Start: Gather Your Supplies
Nothing kills momentum like stopping mid-project to hunt for supplies. Before Saturday morning, round up:
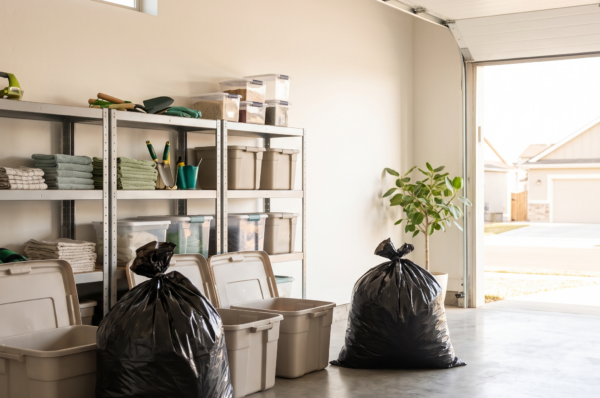
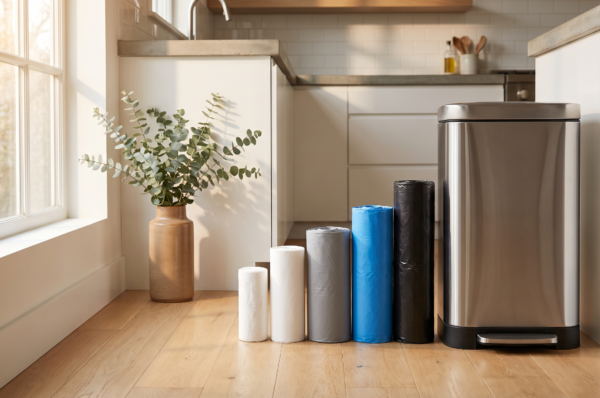
- Heavy-duty trash bags — you’ll need more than you think. Look for bags rated for heavy loads; flimsy bags that rip mid-carry will double your work.
- Boxes or bins for sorting (label them Keep, Donate, Sell, Toss)
- Gloves and a dust mask
- A broom and shop vacuum
- Markers and painter’s tape for labeling
- A truck or trailer if you’re hauling big items to the dump
For the toss pile, Melplas’s heavy-duty trash bags hold up under sharp, awkward garage junk — broken plastic, old tarps, splintered wood — without splitting at the seam, which saves you from sweeping up a second mess.
Saturday Morning: Empty and Sort
Pull Everything Out
This feels drastic, but it works. Pull everything out of the garage onto the driveway. Yes, everything. Seeing your entire inventory in daylight does two things: it shows you how much you actually own, and it forces you to make a decision on every single item instead of shuffling piles around.
Use the Four-Pile Method
Sort every item into one of four categories:
- Keep: Items you’ve used in the last year and will use again.
- Donate: Gently used tools, sports equipment, and household goods someone else can use.
- Sell: Anything worth more than $20 that you have the patience to list. Be honest with yourself — if it’ll sit in the ‘sell’ pile for six months, donate it instead.
- Toss: Broken, expired, or unusable items. This is where those heavy bags earn their keep.
Handle Hazardous Waste Separately
Do not bag old paint, motor oil, pesticides, batteries, or electronics with regular trash. Most counties have hazardous waste drop-off days or permanent collection sites, and many home improvement stores recycle batteries and paint cans for free. Check your city or county website before the weekend so you know where these items go.
Saturday Afternoon: Purge and Haul
Once sorting is done, act fast. Load donations into your car immediately — the longer they sit, the more likely they creep back into the garage. Schedule a donation pickup with a local charity if you have furniture or large items. List sell items on Facebook Marketplace or a neighborhood app the same day while your motivation is high.
For the toss pile, bag it up and get it to the curb or the dump. Double-bag anything with sharp edges or leaks, and don’t overfill — a bag you can’t lift is a bag that tears. If your haul is bigger than your trash service allows, look into a one-time bulk pickup or a small dumpster rental.
Sunday: Clean, Zone, and Reset
Deep Clean the Empty Space
You’ll never have a easier time cleaning the garage than right now, while it’s empty. Sweep out dust and debris, use a shop vac on corners and cracks, and check for oil stains on the concrete. A little cat litter sprinkled on fresh oil stains and swept up after an hour absorbs most of the residue. Wipe down shelves and check for pest evidence — garages are a favorite entry point for mice, so seal any gaps along the bottom of the garage door.
Create Zones
Before anything comes back in, decide where it lives. A simple zoning plan might look like:
- Near the door to the house: everyday items like recycling, trash cans, and shoes
- Along one wall: tools and workbench
- High shelves: seasonal decorations and infrequently used items
- Corner: sports gear and lawn care equipment
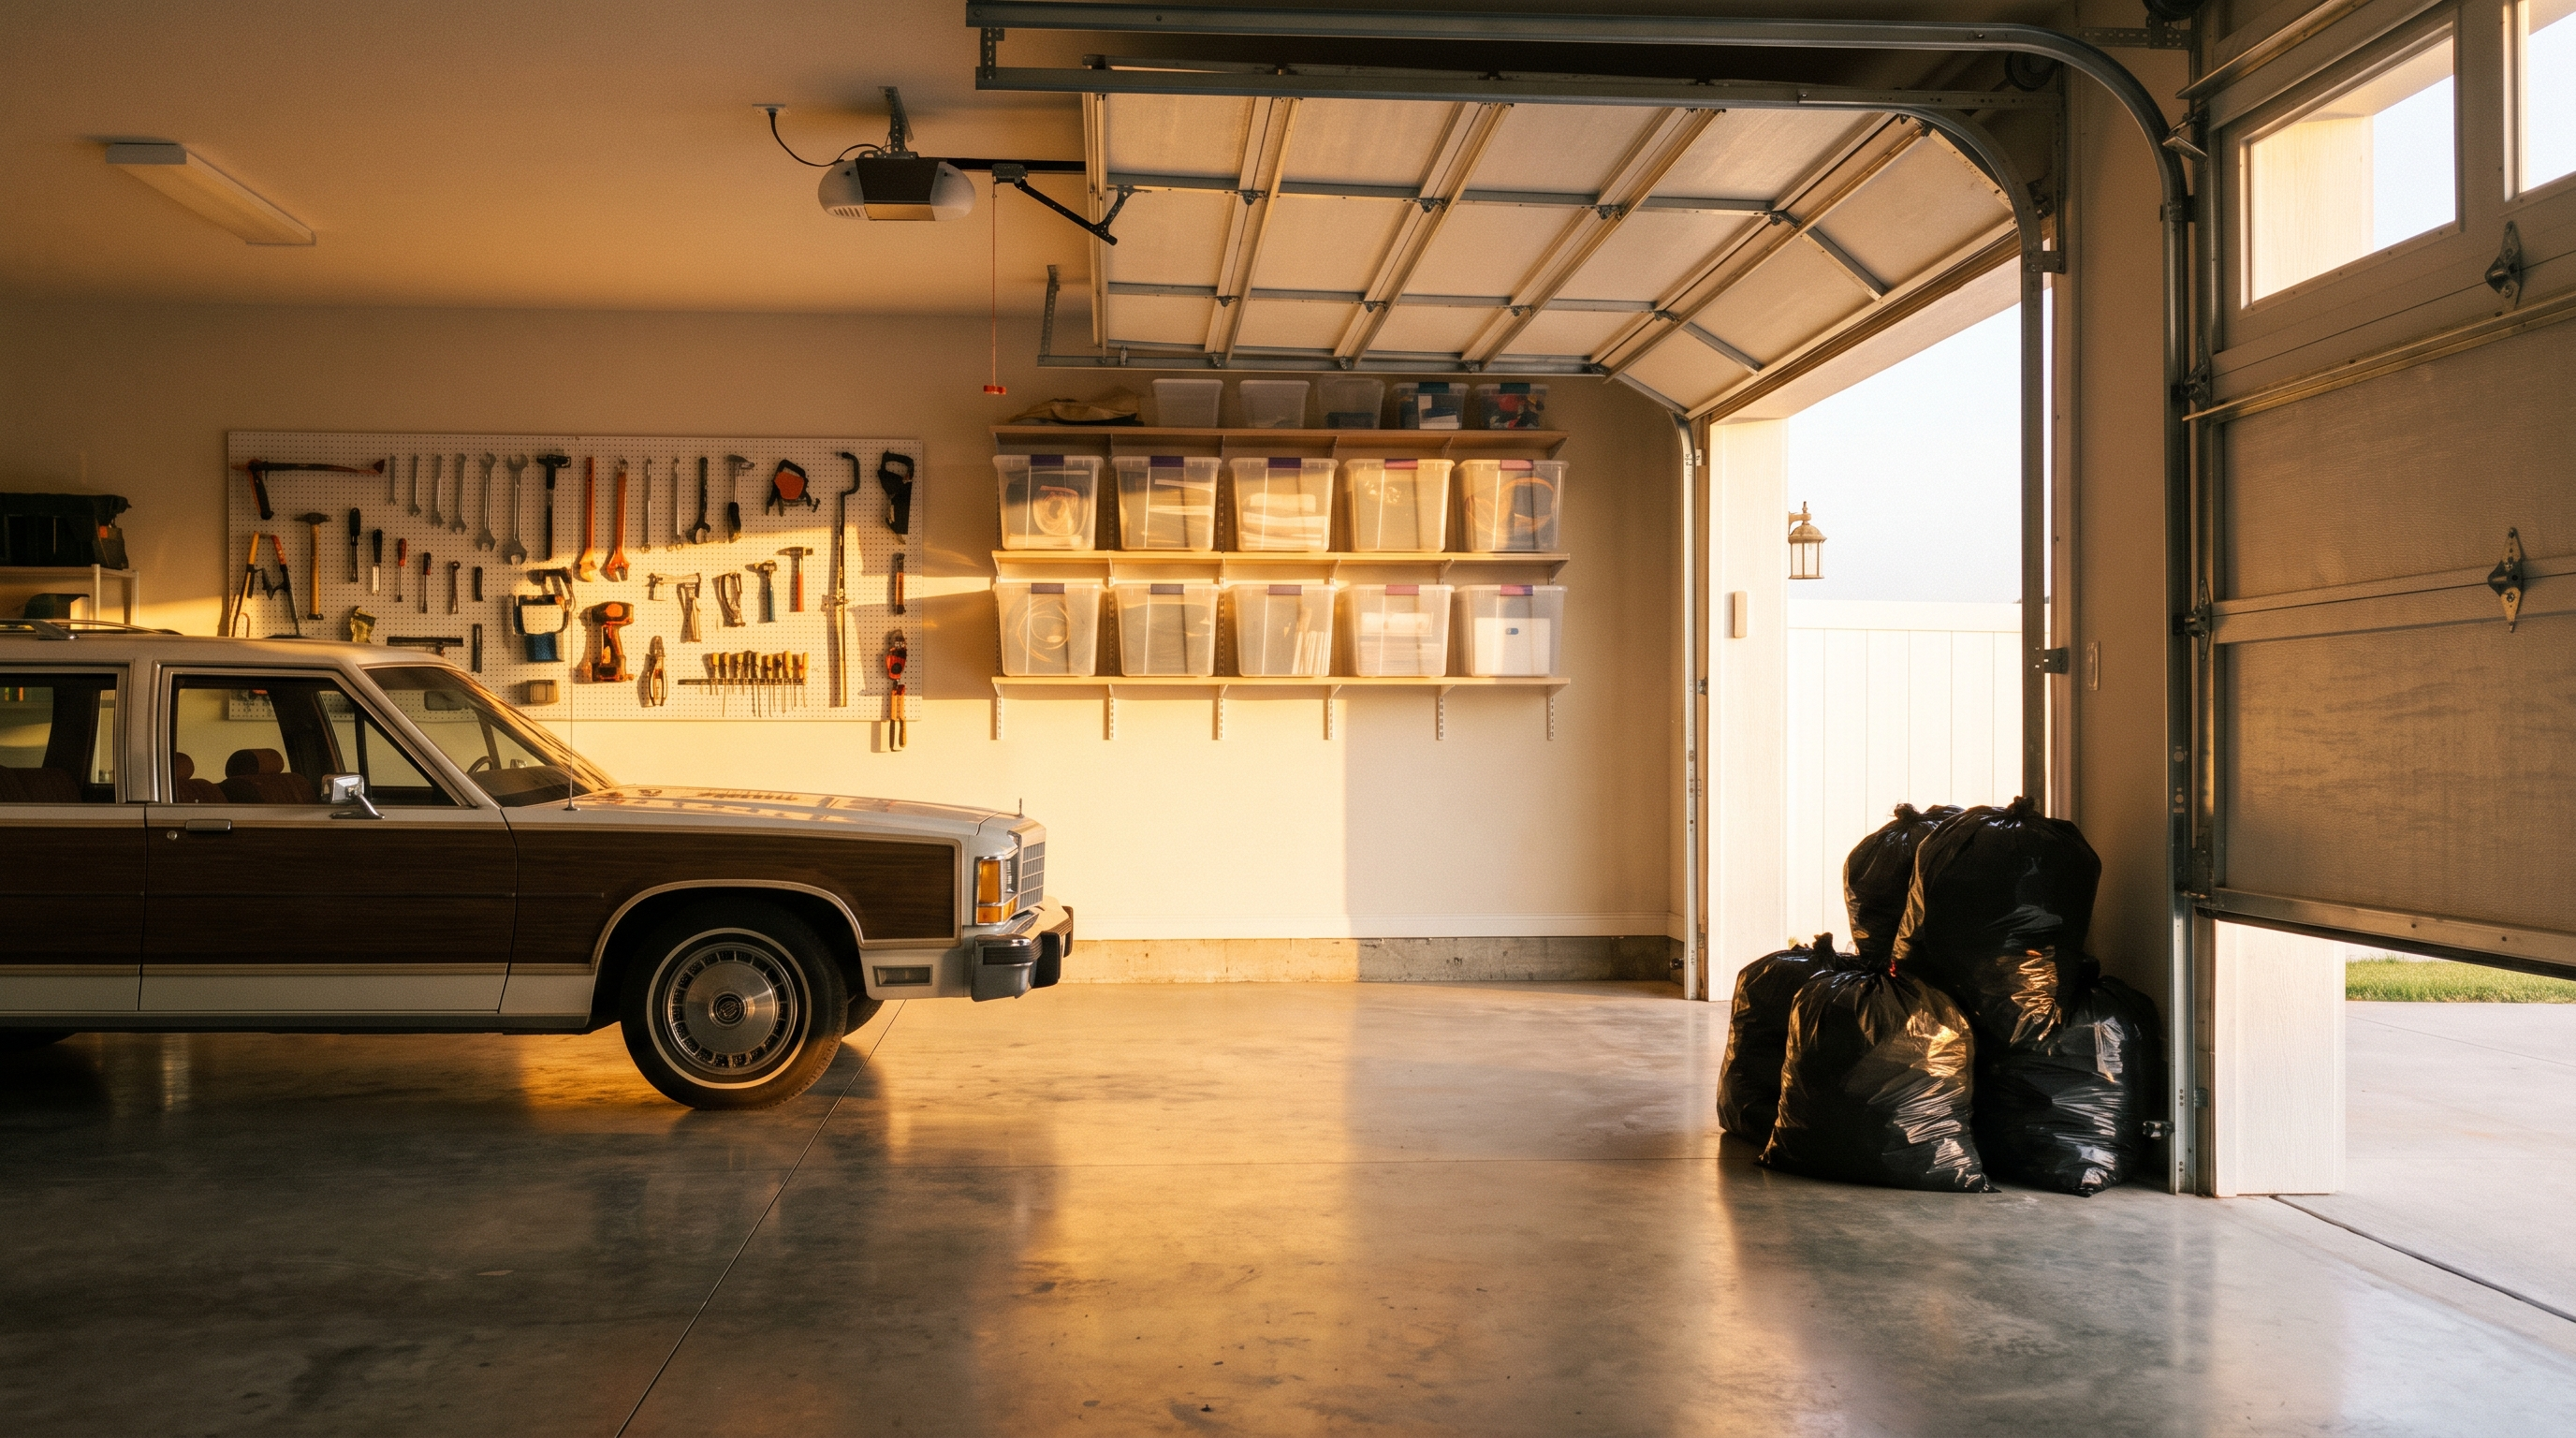
Vertical storage is your best friend. Pegboards, ceiling-mounted racks, and wall hooks get things off the floor so you can actually park the car and sweep without moving ten objects first.
Label Everything
Take ten minutes with a marker and label every bin and shelf. Future you — three months from now, hunting for the extension cords — will be grateful.
Keeping It That Way
A cleanout only lasts if you build in a few habits:
- One in, one out. New tool comes in, old one goes out.
- Keep a donation box in the garage year-round. When it’s full, drop it off.
- Do a 15-minute monthly reset. Return stray items to their zones before they multiply.
- Stock sturdy bags in the garage. Keeping a box of durable Melplas bags on a garage shelf means you’re always ready for the next purge, yard cleanup, or donation drop-off.
The Payoff
A functional garage isn’t just about parking your car inside (though that’s nice in January). It’s about lowering the daily friction of finding what you need, protecting your belongings from pests and moisture, and reclaiming square footage you’re already paying for. One focused weekend, a clear sorting system, and the right supplies — that’s all it takes. Put it on the calendar, set aside two days, and finally get your garage back.