Anyone who has ripped out a bathroom vanity or sanded drywall knows the real secret of DIY: the project itself is only half the job. The other half is the dust, debris, and mystery scraps that follow you through the house for weeks. A little cleanup strategy before, during, and after your project keeps the mess contained, your family breathing easier, and your weekend actually feeling like a weekend.
Prep the Space Before the First Swing
Containment beats cleanup every single time. Twenty minutes of prep can save you hours of vacuuming fine dust out of couch cushions and baseboards.
Seal Off the Work Zone
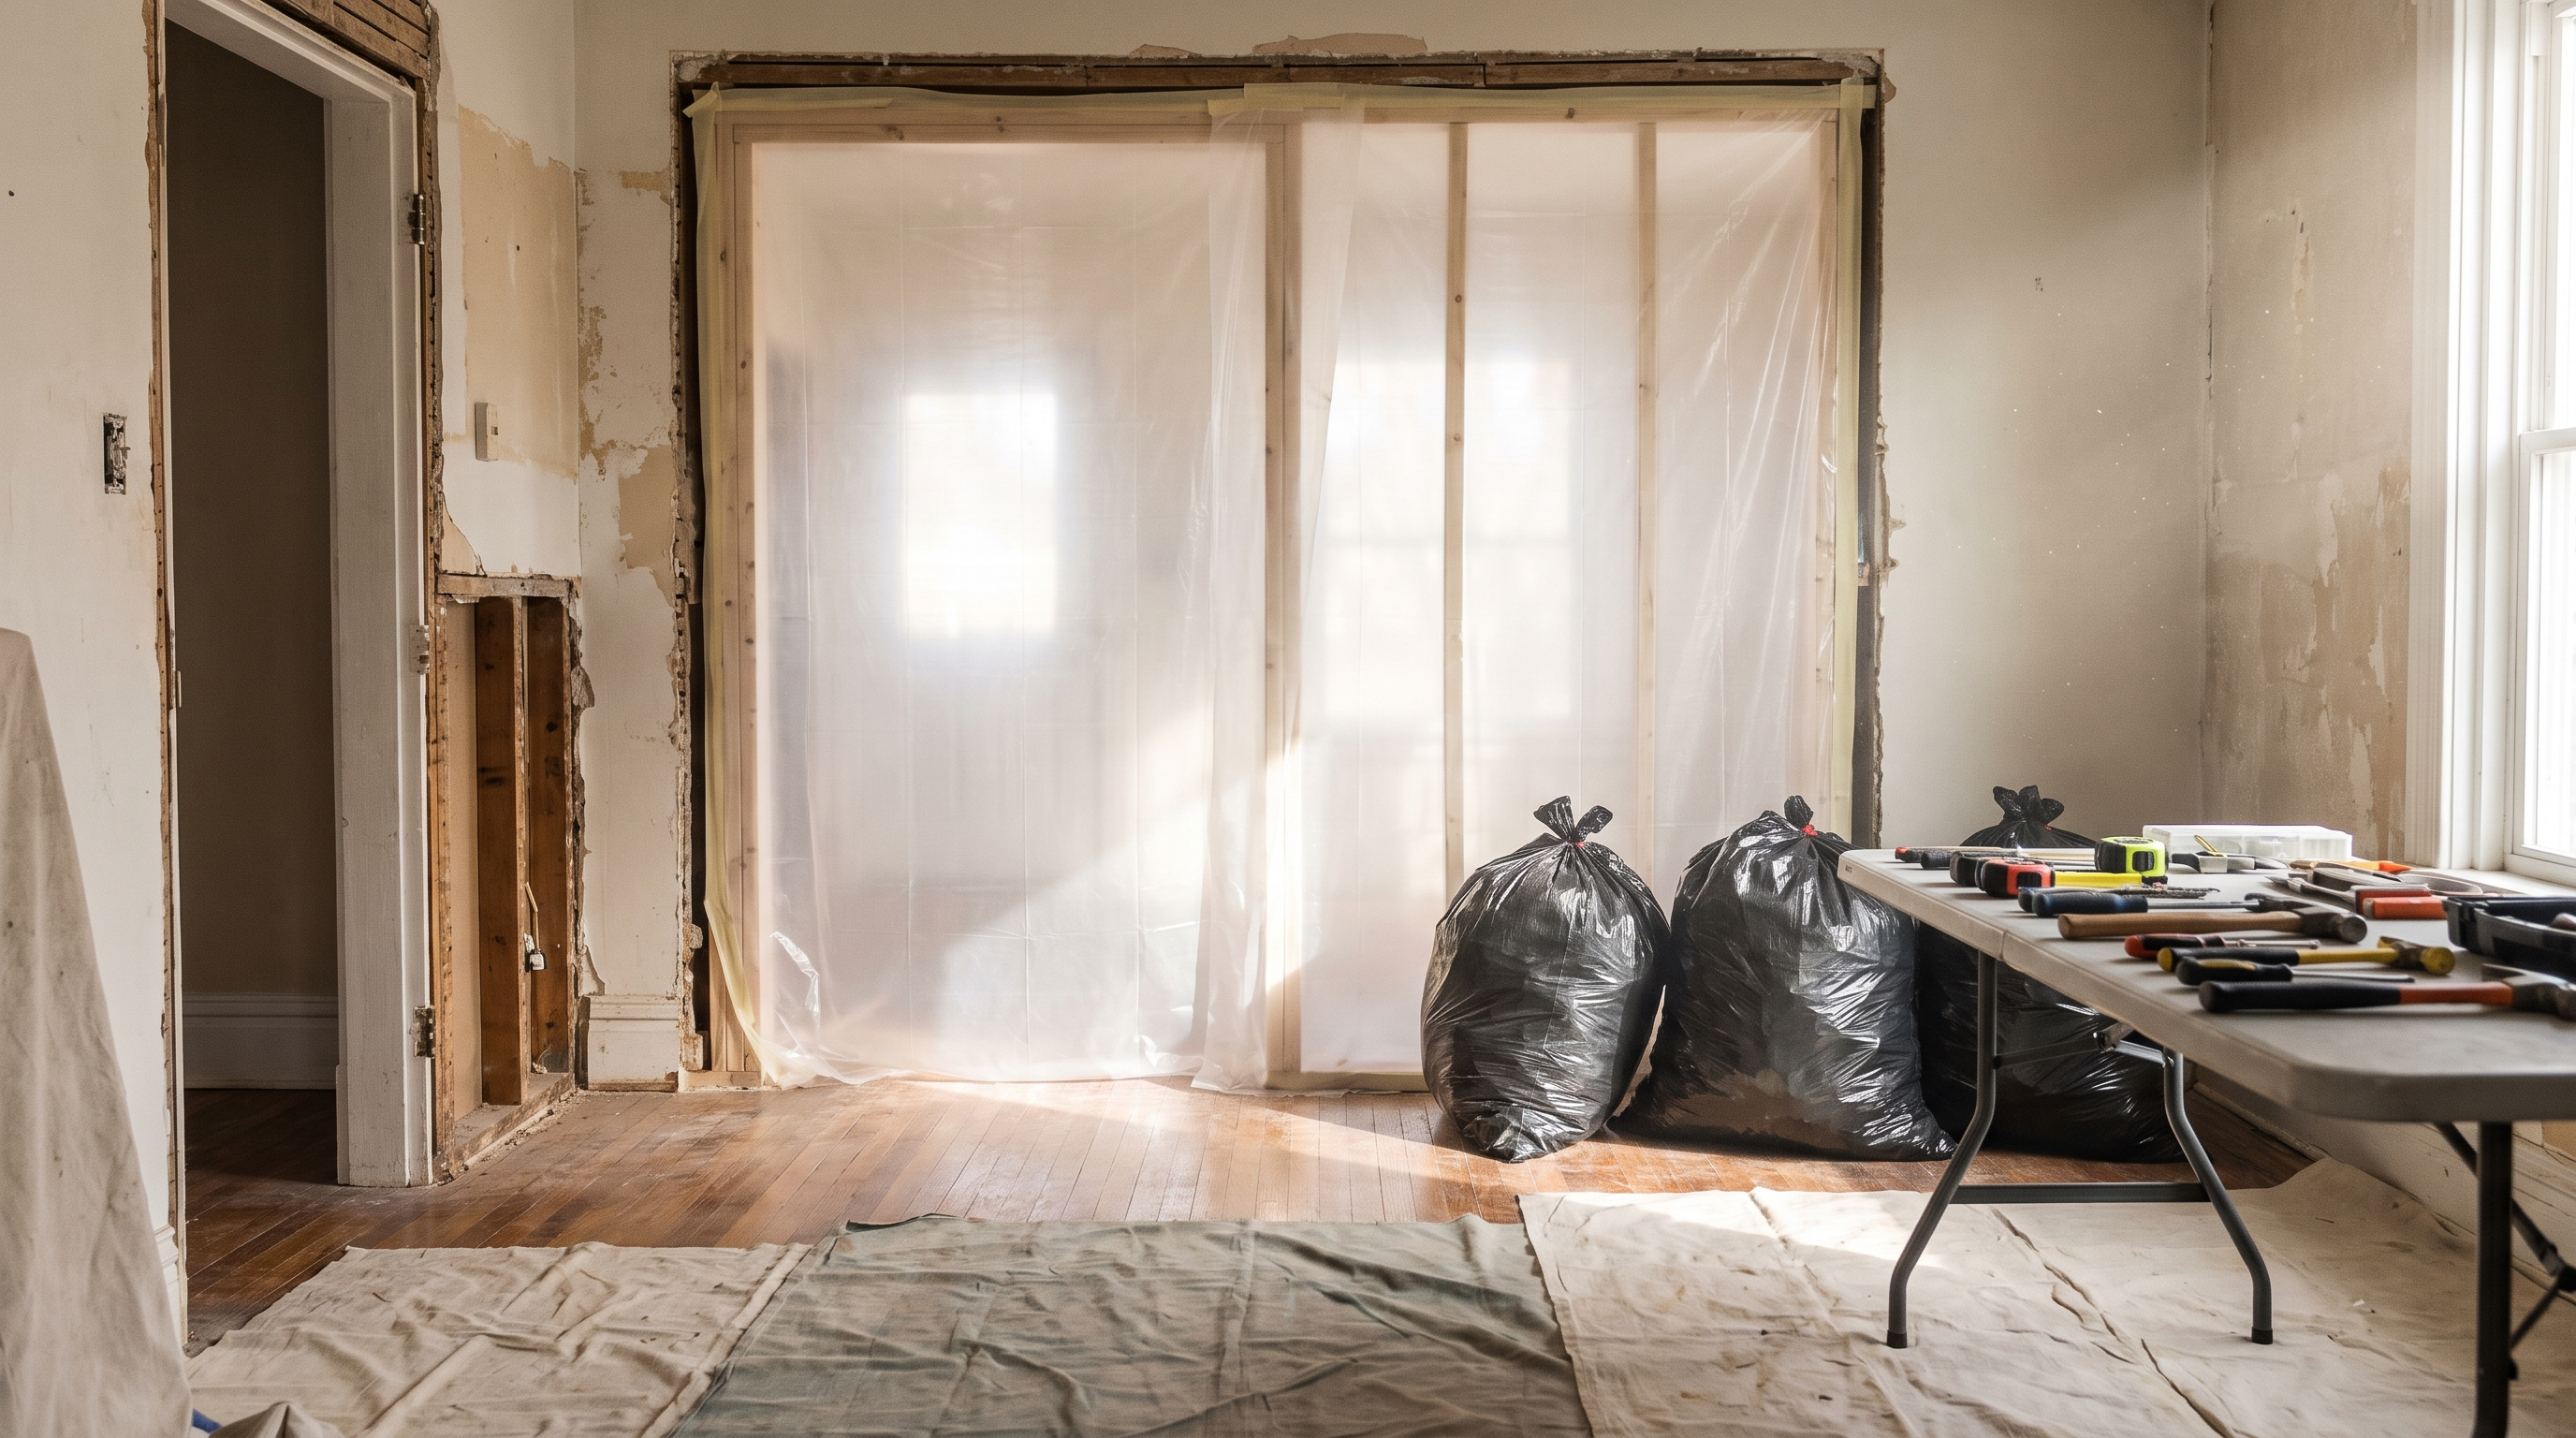
Use painter’s tape and plastic sheeting to close off doorways that lead to the rest of the house. Cover forced-air vents in the room too — your HVAC system will happily broadcast fine dust into every room if you let it. For doorways you need to walk through, hang overlapping plastic flaps you can push past without letting dust escape.
Protect Floors and Pathways
Canvas drop cloths are the gold standard for walkways because they stay put underfoot, unlike slippery plastic. On hard floors, tape down rosin paper or kraft paper along the route from the work zone to the nearest exit, overlapping seams by a few inches so debris cannot sneak underneath.
Set Up a Debris Staging System
The biggest cleanup mistake DIYers make is letting piles form. A pile of scraps on the floor becomes a tripping hazard, then a chore, then a permanent fixture. The fix is simple: bag debris as you go, right where it falls.
One Bag Per Task
Station an open trash bag inside the room — dropping it into a cheap five-gallon bucket keeps it upright and easy to toss into. When you switch tasks, tie the bag off and start a fresh one. Demoing trim? One bag. Pulling old insulation? Its own bag. Separating heavy materials keeps every bag light enough to carry safely.
Match the Bag to the Mess
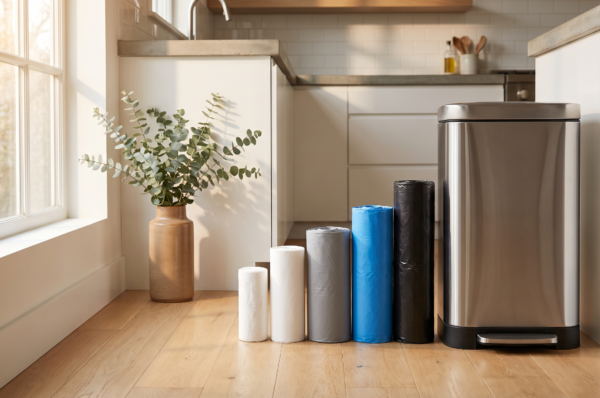
Not every trash bag survives a renovation. Standard kitchen bags shred the first time a drywall corner or stray nail hits them, and a ripped bag of debris across a freshly cleaned hallway is a special kind of heartbreak.
For sharp, heavy debris like tile shards, lumber offcuts, and plaster chunks, use puncture-resistant heavy-duty bags such as Melplas heavy-duty trash bags. Their thicker film holds up when a loaded bag gets dragged across a threshold instead of lifted. For fine dust and insulation, fill bags only two-thirds full and double them up — a bag you can carry beats an overstuffed one that splits on the stairs.
Paint, Adhesives, and Chemicals
Never toss liquid paint or solvents in the trash. Dry out leftover latex paint by stirring in cat litter or a paint hardener, then bag the can once the contents are solid. Oil-based paints, stains, and thinners usually require a household hazardous waste drop-off, so check your city or county website before you pitch them.
Keep Dust From Traveling
Fine sanding and drywall dust lingers longer than any other part of a project. A few habits keep it contained:
- Set a box fan in the window blowing outward so dust exits the room instead of circulating.
- Skip the dry broom. Sweeping launches dust into the air; use a HEPA-rated shop vacuum instead.
- Damp-wipe surfaces from top to bottom after vacuuming, working your way toward the doorway.
- Bag used cloths and vacuum filters inside the work room, not in the kitchen.
Do a 15-Minute End-of-Day Reset
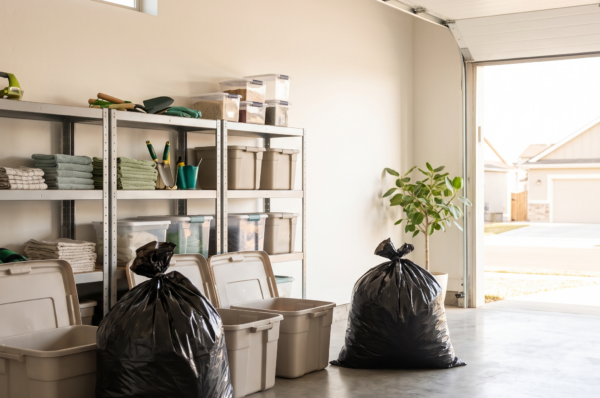
Renovation mess compounds fast, and a short reset at the end of each work session keeps the whole house livable. Carry full bags to the curb, garage, or dumpster the same day — bags left sitting indoors attract pests and odors. Stash tools in one bin or on one table so the room reads as in progress, not abandoned, and damp-mop the pathway to the door. Keeping a roll of Melplas bags on the tool table makes the tie-off-and-tote habit almost automatic.
Know What Not to Bag
Some project waste never belongs in household trash, no matter how tough the bag is:
- Batteries, electronics, and fluorescent bulbs belong at a drop-off recycling point.
- Pre-1980 popcorn ceilings, old boiler pipe wrap, and certain vintage floor tiles may contain asbestos. If you suspect it, stop and have the material tested before disturbing anything.
- Concrete, shingles, and large volumes of debris usually call for a rented dumpster.
- Refrigerators and other appliances are often hauled away free through utility or municipal programs.
Your local waste authority’s website is the fastest source for what is accepted curbside in your area.
The Final Walkthrough
When the project wraps, do one last lap before you call it done:
- Run a magnet or magnetic sweeper across the floors for dropped screws and nails — a lifesaver if you have kids, pets, or new tires in the driveway.
- Vacuum one more time, including window sills, light fixtures, and vent covers.
- Pull the plastic sheeting down slowly, folding it inward so trapped dust stays inside, then bag it immediately.
- Damp-mop the pathway one final time.
Then take the after photo. You earned it — and unlike the before shots, this is one mess you will never have to clean up again.