There is no smell quite as unique or as stubborn as the dirty diaper. Whether you are using cloth or disposables, if you have a baby, you are fighting a constant battle against nursery odors. It seems to seep out of the pail, cling to the changing table liner, and eventually take over the entire room.
We’ve tested the sprays, we’ve tried the “wrap it tight” method, and we’ve invested in the expensive hardware. While specialized pails help, the secret to a fresh-smelling nursery actually comes down to a few low-tech habits and, most importantly, using the right liners.
Why Standard Kitchen Bags Fail
Before we get into the fixes, it’s important to understand why your diaper pail smells in the first place. Many parents simply line their pails with standard kitchen trash bags. While convenient, these are often too thin or porous to contain the potent ammonia that develops as diapers break down.
When a bag is flimsy, it is prone to micro-tears near the knot where it gets twisted and handled. These tiny tears let gas escape. Furthermore, standard bags often don’t seal tightly around the rim of specialized pails, allowing air to flow in and out—carrying those nasty smells with it.
Upgrade Your Liner
The first line of defense is a heavy-duty bag that is actually designed to contain messy, heavy waste. You need something with puncture resistance and a thickness that doesn’t immediately surrender to the weight of a few days’ worth of diapers.
For example, Melplas trash bags are designed with a focus on durability. While we market them for tough kitchen and garage cleanup, that same tear-resistant strength is exactly what you want in a nursery setting. A thicker 1.1 Mil or 1.2 Mil plastic creates a better barrier against odors than the flimsy bargain-bin bags you might find at the dollar store. If you are tired of seeing leakage or smelling the pail the moment you walk in the door, swapping your liner is the easiest fix.
The “Double-Bag” Hack
If you are deep in the throes of the solids-only stage (you know what I’m talking about), you might need a temporary containment strategy while you wait for trash day.
The Double-Bag method is simple but effective. Place your diaper pail liner inside the pail as usual. Then, take a second scented bag (like a small kitchen size) and place it loosely inside the pail or right next to it on the changing table.
Instead of tossing the dirty diaper directly into the main pail, place it in the smaller bag first. Tie that bag off immediately to seal in the diaper and the air, then drop the sealed small bag into the larger pail. This creates a double seal. It does use a little more plastic, but for those particularly messy days or during stomach bugs, it can save your sanity.
DIY Odor Neutralizers
Baking soda is the oldest trick in the book for a reason—it works. However, dumping a box of baking soda directly into the bottom of your pail can create a pasty mess if any liquid escapes a diaper.
Instead, make DIY Odor Absorber Pouches:
- Get some coffee filters. The small, basket-style ones work perfectly.
- Fill the center. Pour about 2-3 tablespoons of baking soda mixed with a few drops of essential oil (lavender or tea tree are great antimicrobials) into the center of the filter.
- Twist and Tie. Gather the edges of the filter and tie it off with a twist tie or a piece of string.
Toss one of these little sachets into the bottom of the pail before you put the liner in. It will sit quietly and absorb moisture and odors without making a mess when you change the bag.
Maintenance: It’s Not Just the Bag
Even with the best bags in the world, the pail itself will eventually hold onto smells. Bacteria from microscopic residue on the inner walls of the plastic pail is often the culprit.
The Monthly Deep Clean
Once a month, take the pail outside (or to the bathtub if you must). Give it a scrub with warm water and dish soap. Rinse it well.
For the finishing touch, wipe the inside down with a cloth dampened with white vinegar. Let it air dry completely in the sun if possible—UV light is a great natural sanitizer. If you can’t take it outside, just ensure it’s bone dry before putting a new liner in; moisture is the enemy here.
Don’t Ignore the Lid
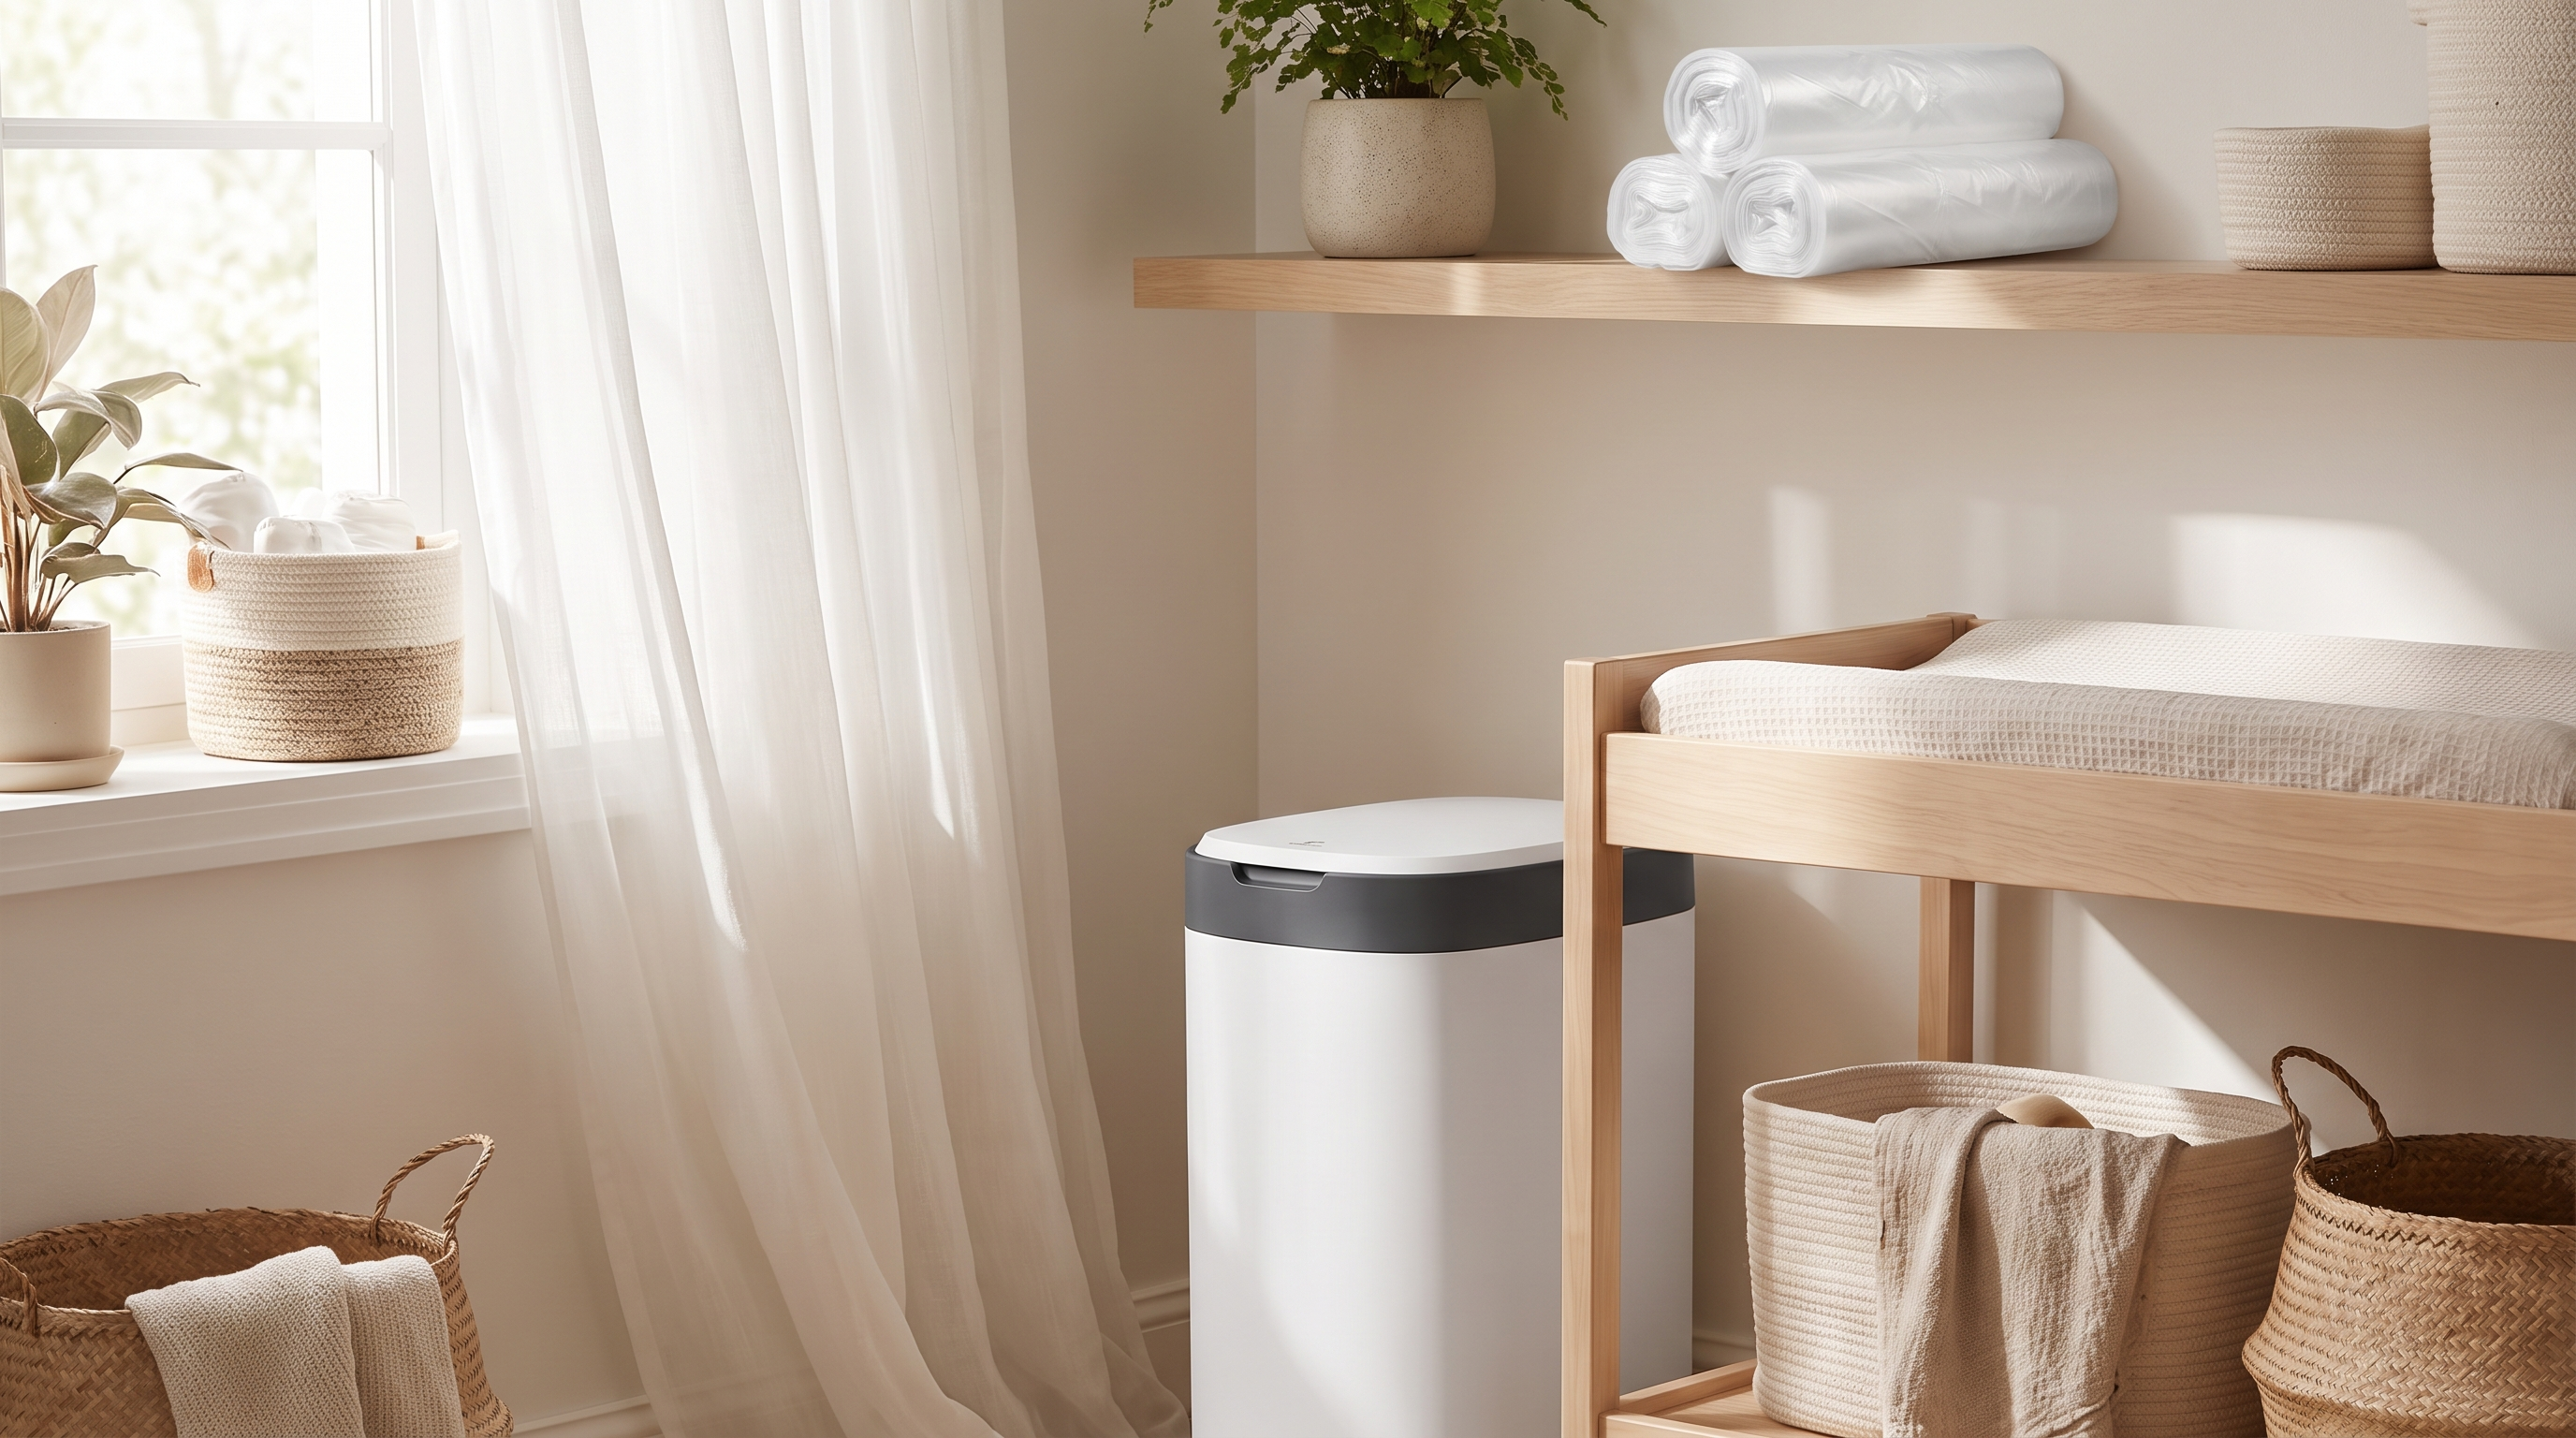
Finally, look at the lid mechanism. If you have a “foot pedal” style pail, check the rubber seal around the lid. Over time, residue builds up on this rubber strip, preventing it from closing airtight.
Wipe the seal down weekly with a disinfectant wipe. If your pail uses a twisting mechanism to seal bags, ensure the plastic gears are clean. Sometimes a stuck gear leaves the lid slightly ajar, and that tiny gap is all the smell needs to escape.
Final Thoughts
Dealing with diaper duty isn’t glamorous, but it doesn’t have to stink up your whole house. By upgrading to a durable, tear-resistant liner and keeping the pail mechanism clean, you can keep the nursery smelling fresh.