Let’s be honest: chest freezers are the black holes of the kitchen. You toss a few packs of chicken thighs in there after a big grocery run, and two months later, you pull out a frost-covered, shriveled lump that used to be a roast. It’s frustrating, it’s wasteful, and it hits your wallet right where it hurts.
As an American homeowner, I know the pain of tossing food in the trash. It feels like throwing dollar bills directly into the garbage can. But here is the good news: with a few smart organization hacks and the right storage technique, you can extend the life of your food, save money, and keep that deep freeze working for you, not against you.
The Science of Freezer Burn (And Why It Happens)
Before we reorganize, we need to understand the enemy. Freezer burn isn’t actually “burning”—it’s dehydration. It happens when air comes into contact with the surface of the food. The moisture in the food turns into ice crystals (sublimation), leaving behind dry, oxidized patches.
While freezer-burned food is safe to eat, the texture turns tough and leathery, and the flavor evaporates. The culprit? Air. The solution? Air-tight barriers.
The Golden Rule: Don’t Trust the Packaging
That thin plastic wrap your ground beef comes in from the supermarket? It’s not built for long-term storage. It’s porous. Air will slowly sneak in, turning your dinner into a frosty disappointment.
For anything staying in the freezer longer than a month, you need to repackage it. Vacuum sealers are the gold standard, but heavy-duty freezer bags work surprisingly well if you squeeze the air out properly. This is where quality matters—a flimsy bag that rips when you stack other items on top of it is a recipe for disaster.
Step-by-Step Guide to Organizing Your Chest Freezer
Organizing a deep freezer is tricky because you can’t see what’s at the bottom. You have to stack, and that usually leads to avalanches. Here is the system that keeps my kitchen running smoothly.
1. The Deep Clean (Don’t Skip This)
First, you have to clear the deck. Unplug the freezer (or crank it to max) and pull everything out. As you pull items out, sort them into three piles:
- Keep: Good condition, clearly labeled.
- Cook Tonight: Items that need to be used immediately.
- Toss: Anything with heavy ice crystals or unknown dates.
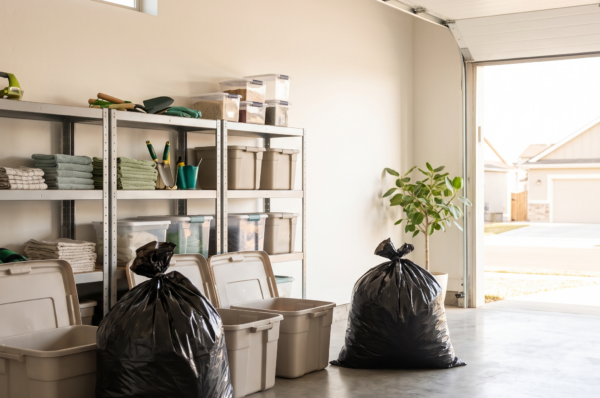
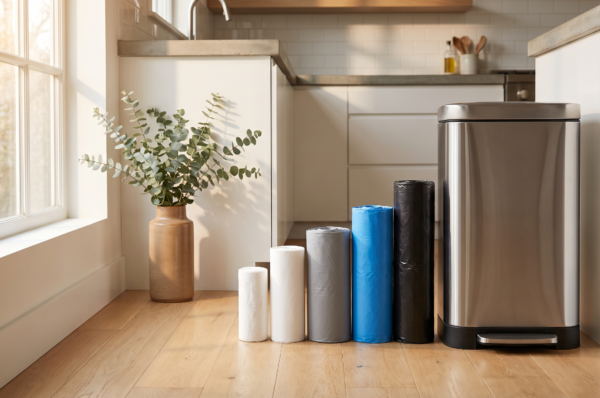
This is the messy part. As you sort, you’ll likely find a few casualties. Since you are likely dealing with raw meat leaks or frosty residue, you need a trash bag that can handle the weight without tearing. There is nothing worse than a bag ripping open while you’re trying to heave heavy, frozen food waste into the bin. I always use heavy-duty bags for this job—they handle the sharp corners of frozen boxes and the weight of melting ice without a problem.
2. The Inventory System
Never trust your memory. If you can’t see it, you won’t remember you have it. Keep a simple magnetic notepad on the outside of the freezer. When you put something in, write it down. When you take it out, cross it off.
3. Baskets and Bins are Your Best Friends
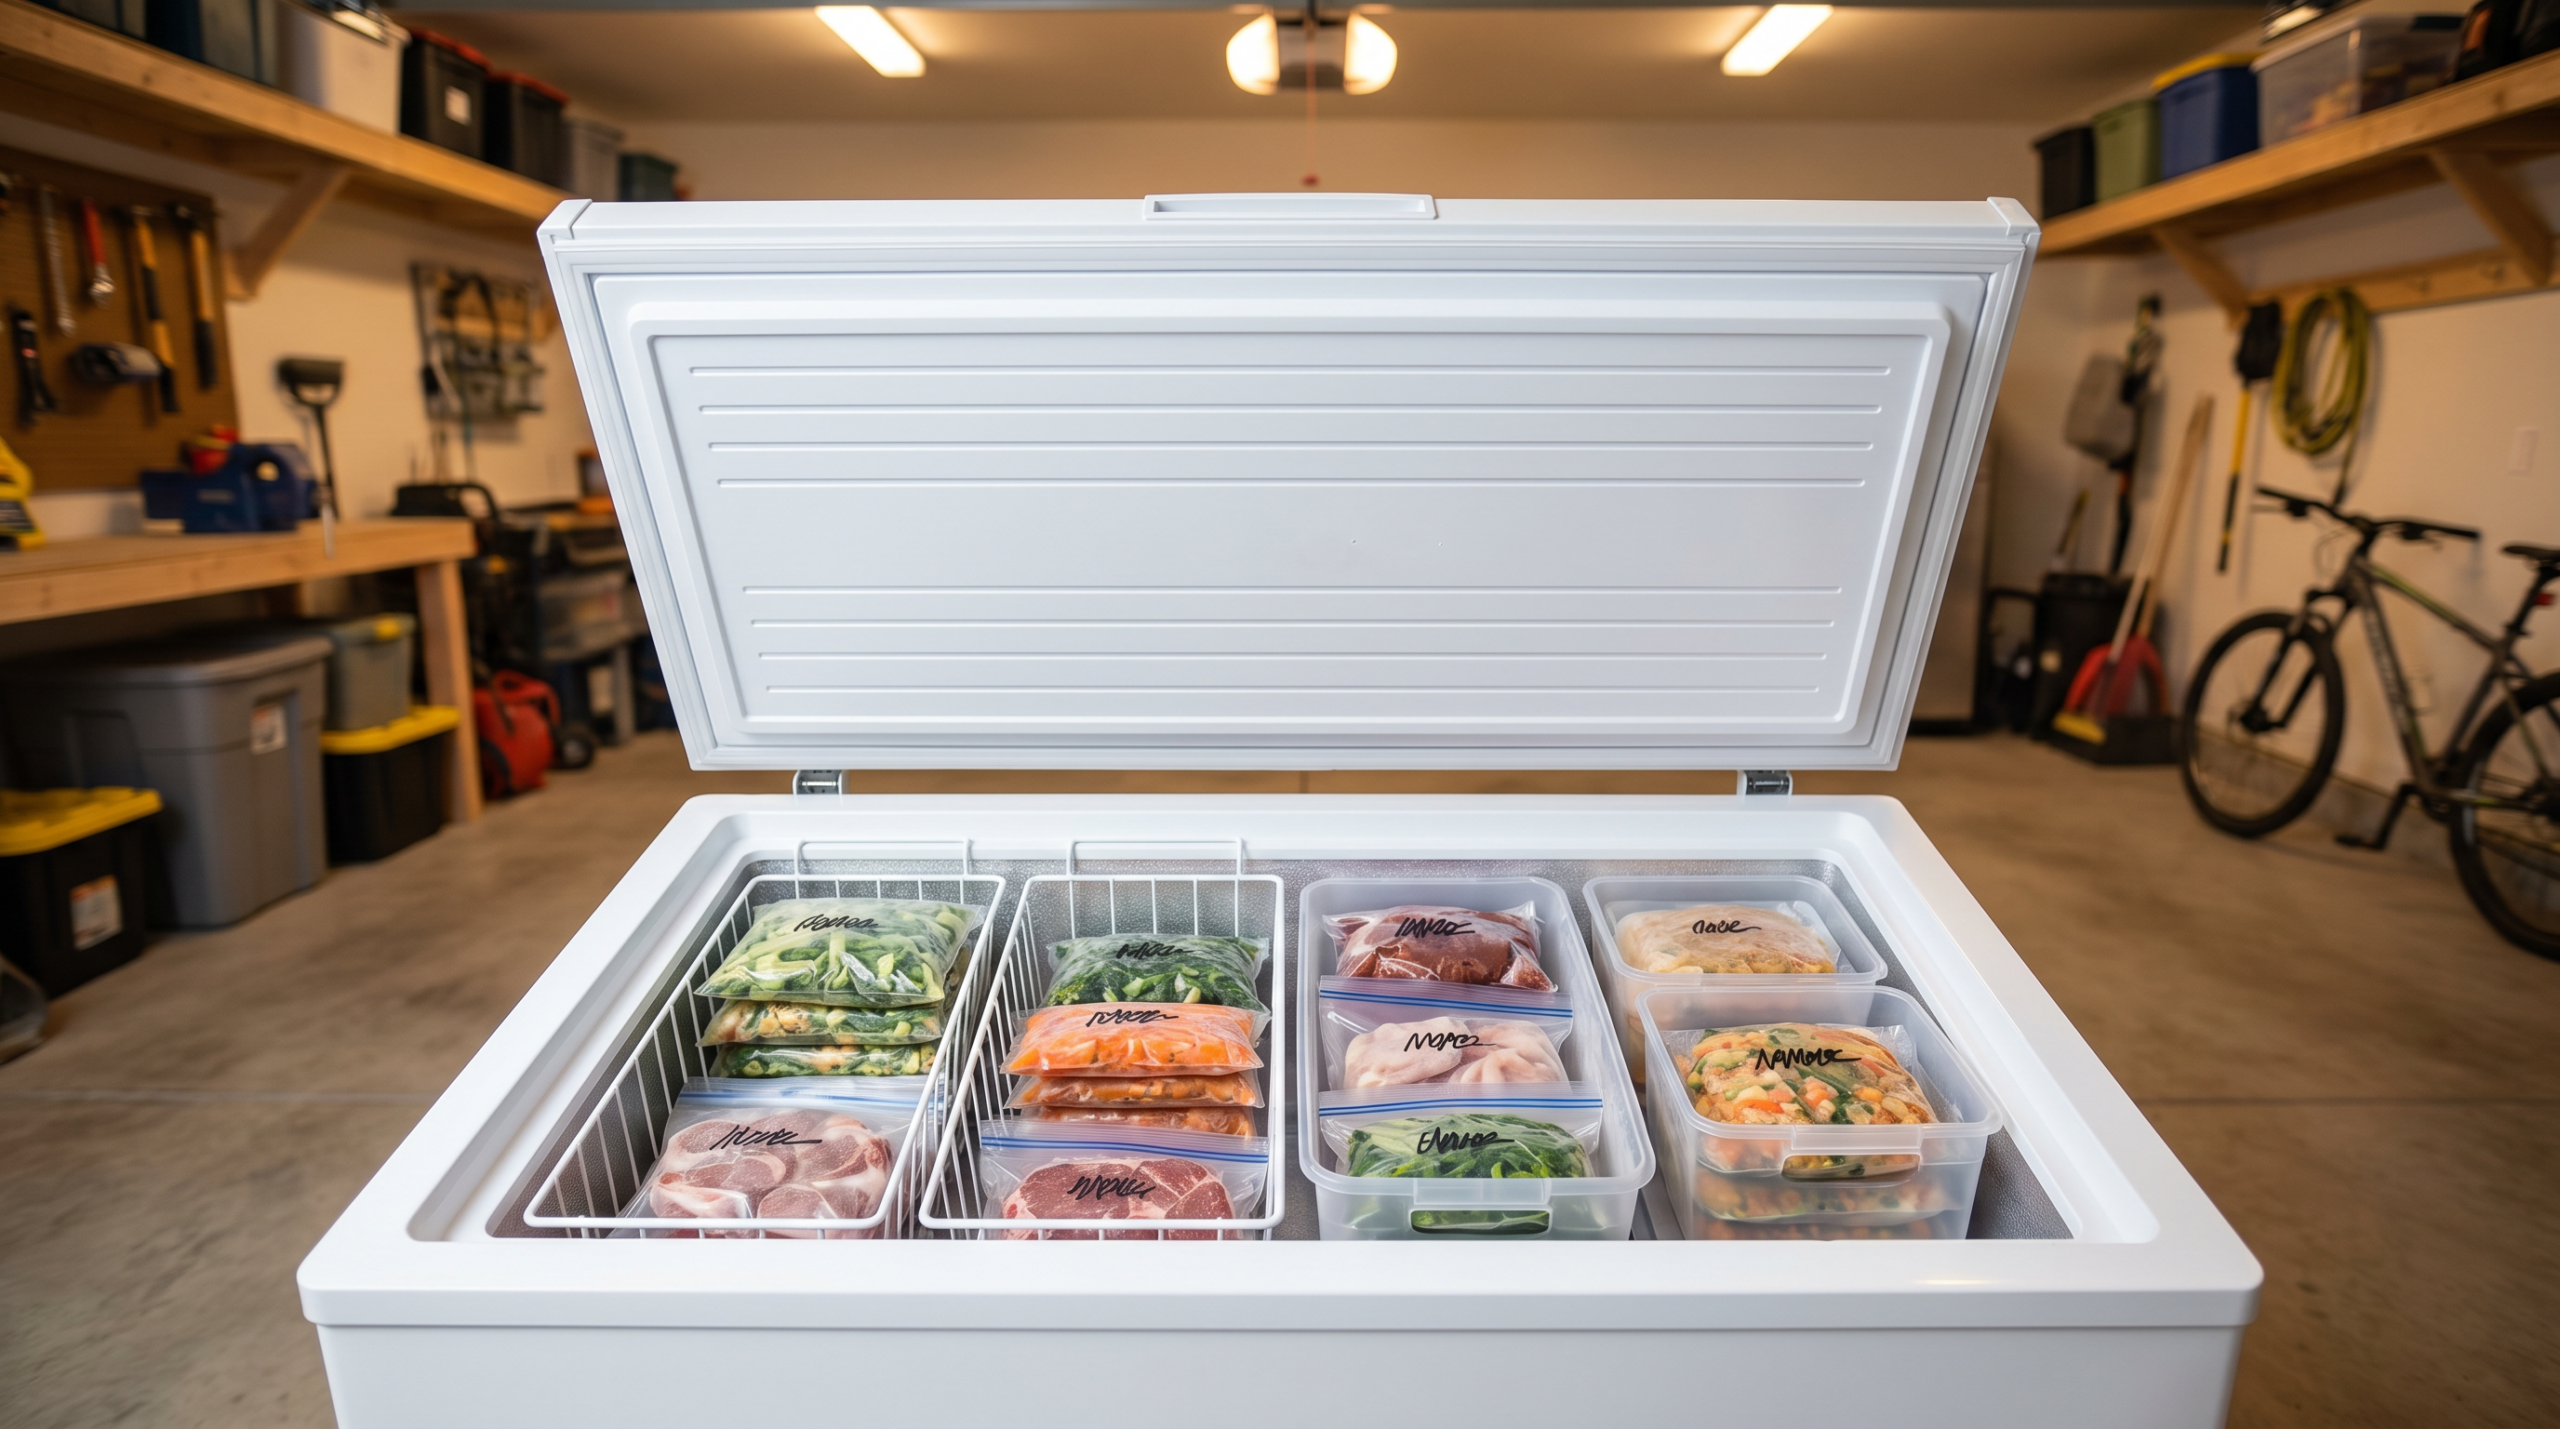
You cannot just stack bags on top of each other; that is how things get lost forever. Instead, use wire baskets or plastic bins to create “drawers.”
- Bin 1: Beef & Pork
- Bin 2: Poultry
- Bin 3: Fruits & Veggies
- Bin 4: Pre-made Meals / Leftovers
Label the handles of the bins. This way, you only have to pull out the “Beef” basket to find that roast, rather than digging through a mountain of frozen peas.
4. The “First-In, First-Out” Rotation
Restaurants do this for a reason. When you buy new meat, don’t just throw it on top. Put the new items at the bottom or back of the basket, and move the older items to the front. This ensures that the oldest food gets used before it passes its prime.
Practical Tips for Better Storage
Beyond the baskets, the way you package the food matters just as much as the way you stack it.
Flash Freezing
If you are freezing berries, veggies, or individual pieces of chicken, don’t just throw them in a bag. They will fuse together into a solid block of ice. Instead, lay them out on a baking sheet in a single layer, freeze them for a few hours, and then transfer them to a bag. Now they are loose individual pieces, and you can grab exactly what you need.
Flat is Better
When using freezer bags, freeze them flat. Lay the bags on a cookie sheet until they are solid. Once frozen, you can file them upright like books in a bin, or stack them like papers. This saves massive amounts of space and makes thawing faster (more surface area exposed to warm air).
Label Everything
Use a grease pencil or a permanent marker. Write the contents and the date. “Mystery Meat from 2021” is not a meal you want to eat.
Sustainability and the Bottom Line
Food waste is a massive problem in American households. We buy with the best intentions, but poor storage leads to waste. By taking a Saturday morning to reset your freezer, you are doing more than just organizing—you are reclaiming your grocery budget.
When you do have to purge the freezer, make sure your disposal method is as responsible as your storage method. If you have a significant amount of food waste to compost, or heavy packaging to recycle, ensure your trash bags are durable enough to contain the mess without leaking into your garage or bin. A little effort in organization goes a long way toward a more sustainable, efficient kitchen.