How to Set Up a Dog Waste Station at Home
If you’re one of the roughly 65 million American households with a dog, you already know the daily reality: there’s a lot of waste to deal with. Between backyard pickups, daily walks, and the occasional “accident” on the living room rug, dog waste management is a never-ending chore. Yet most of us improvise—grabbing whatever plastic bag is nearby and tossing it into the kitchen trash, where it sits for days.
There’s a better way. A dedicated dog waste station at home keeps your yard cleaner, your trash can fresher, and your routine simpler. Here’s how to set one up in an afternoon, plus smart disposal options that don’t wreck your kitchen’s smell.
Why a Dedicated Dog Waste Station Matters
Mixing dog waste into your regular kitchen trash causes three big problems. First, odor—dog waste starts breaking down fast, especially in summer heat, and a closed trash can in a warm kitchen accelerates the smell. Second, bacteria. Dog waste carries pathogens like E. coli, salmonella, and parasites such as roundworm, which you don’t want near your food-prep zone. Third, convenience. When cleanup supplies are scattered across the house, you’re less likely to pick up after your dog promptly, and waste left in the yard becomes a health hazard for kids and other pets.
A waste station solves all three by giving waste one dedicated home, away from your kitchen, with the right supplies always within reach.
Choosing the Right Location
Backyard Stations
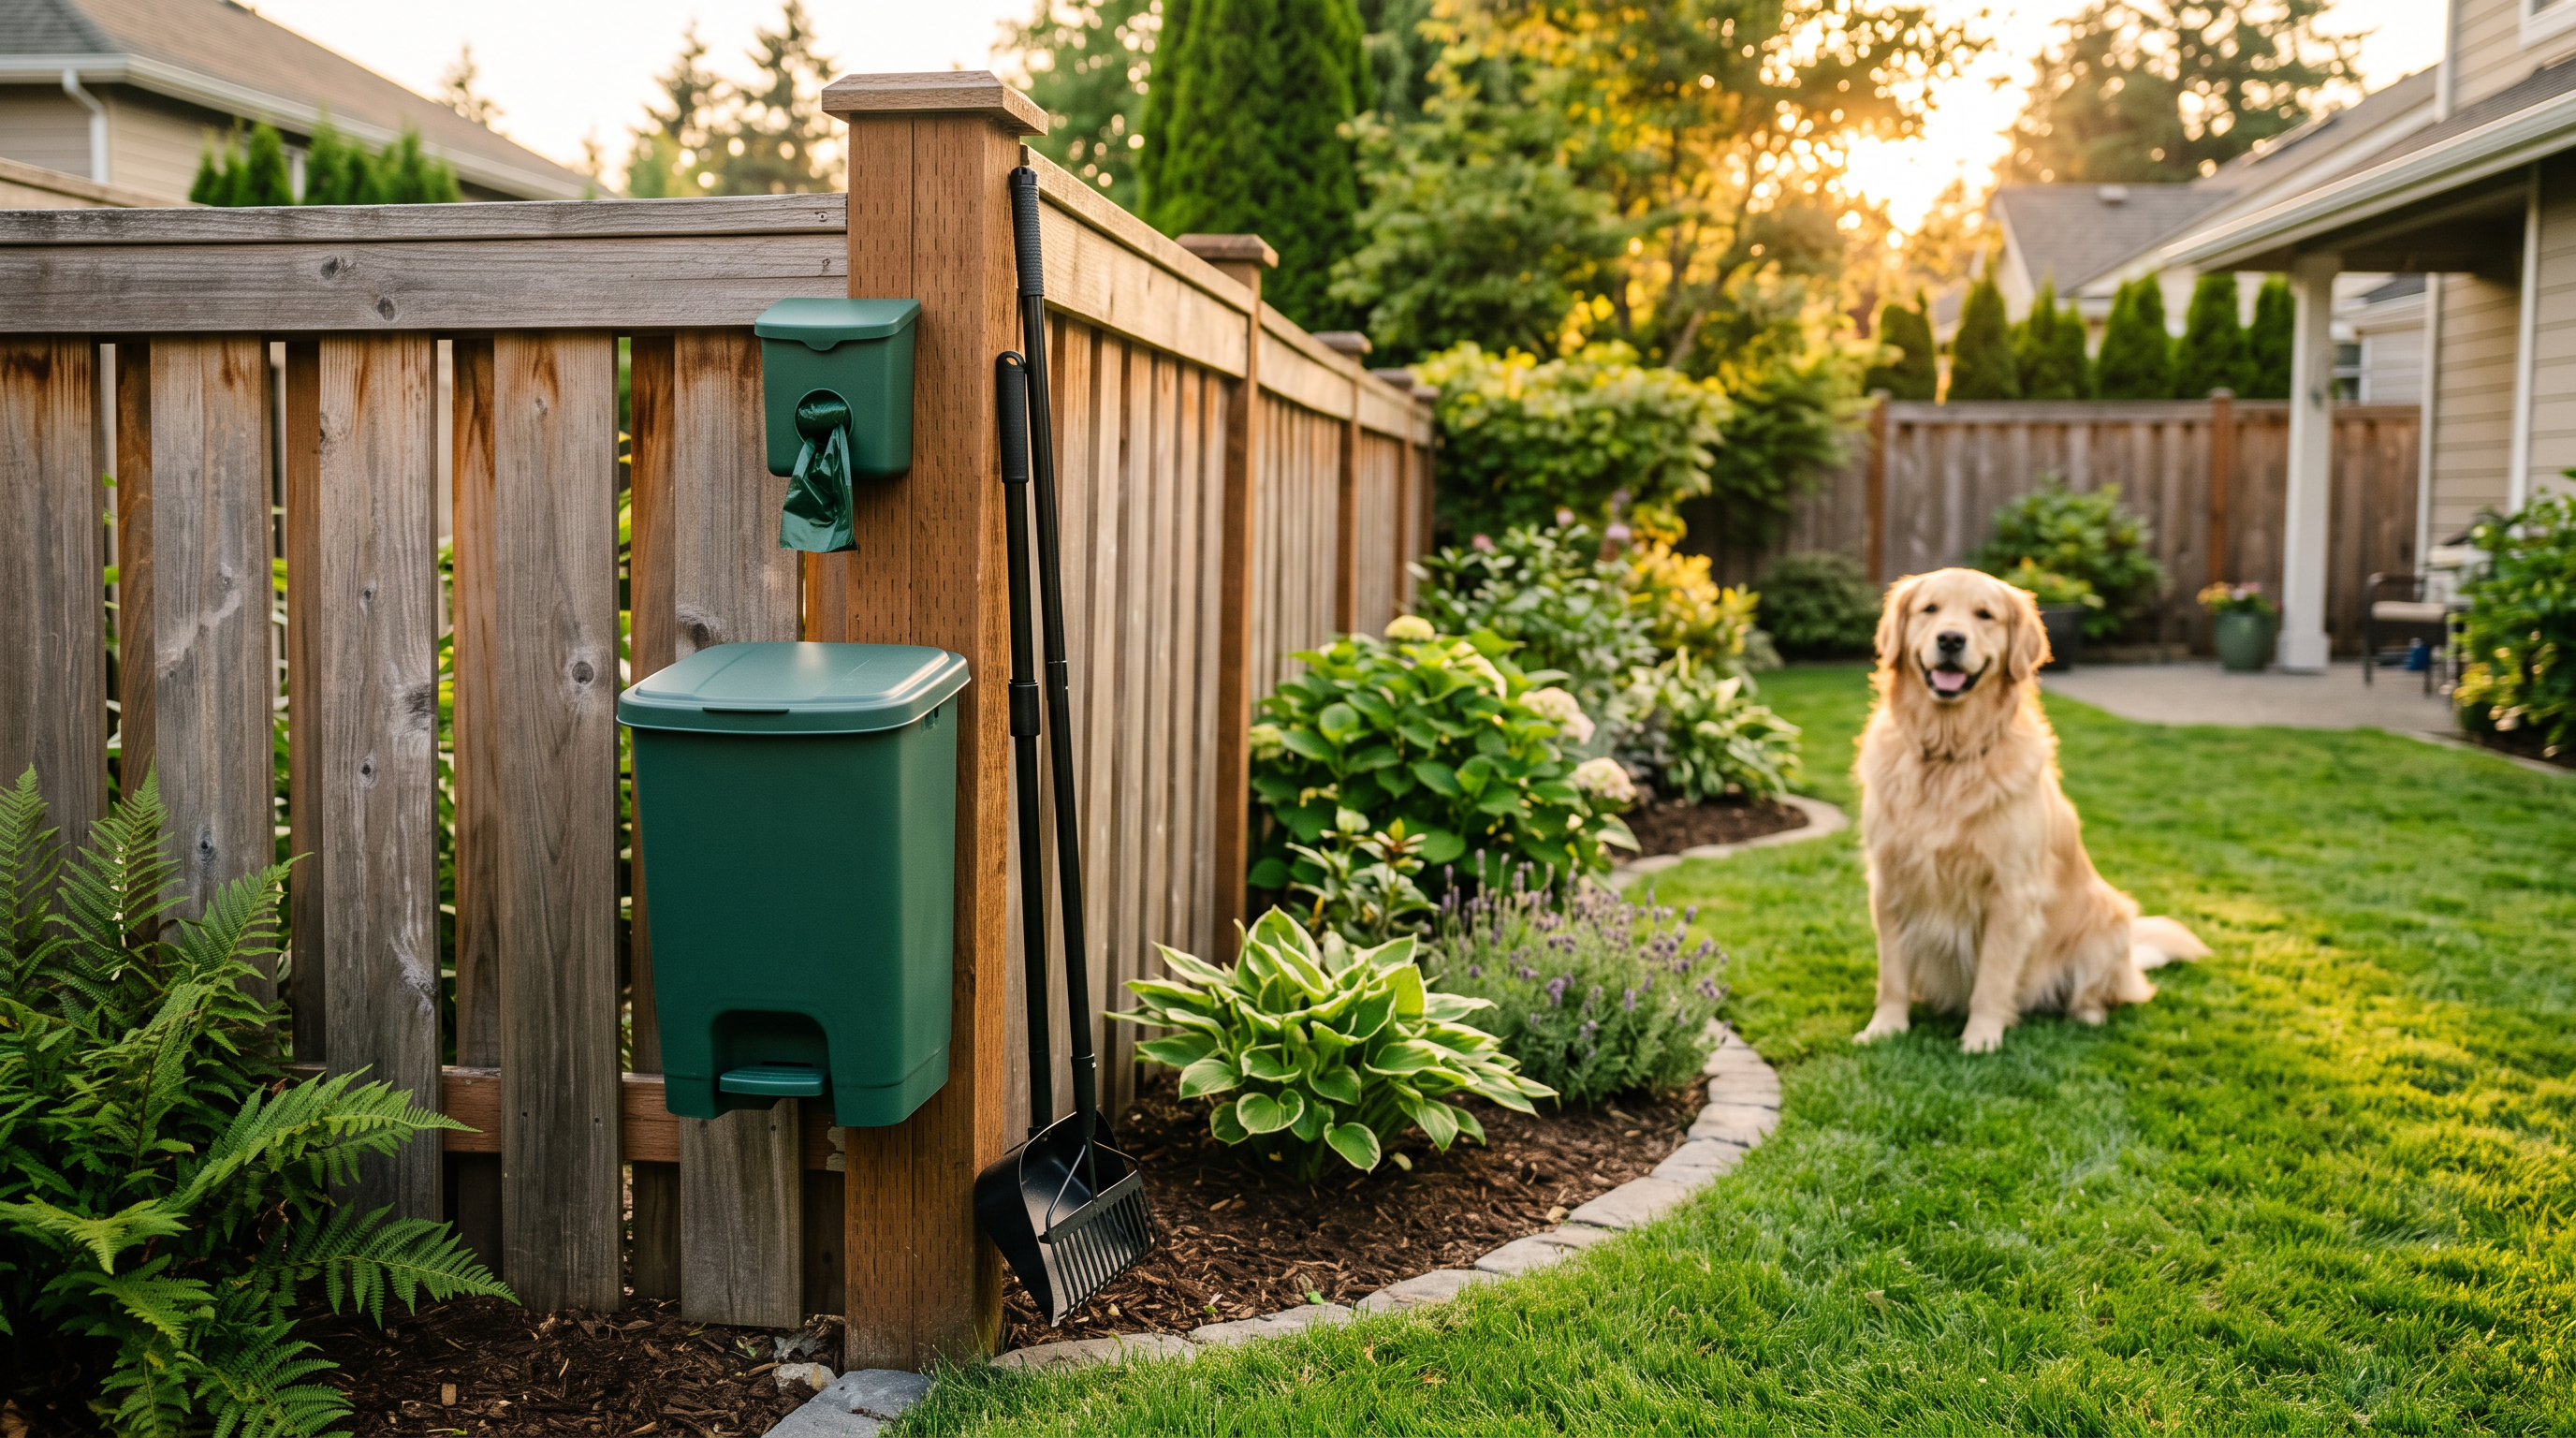
The best spot is a corner of your yard that’s easy to reach on your way back inside but far from patios, play areas, vegetable gardens, and wells. If you have a detached garage or side yard, even better—shade slows decomposition and keeps odor down. Avoid low spots where rainwater pools, since standing water plus waste is a mosquito and bacteria problem.
Indoor or Garage Stations for Bad Weather
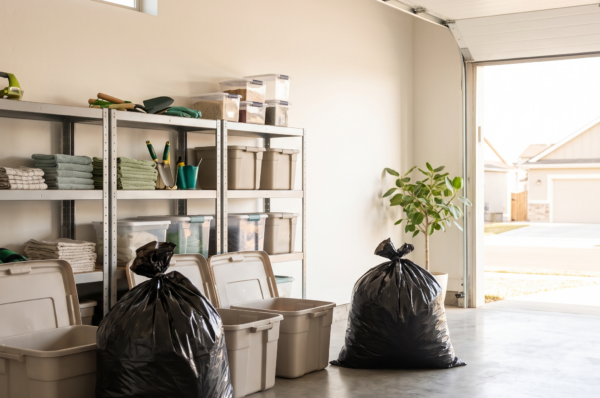
For apartment dwellers or anyone dealing with harsh winters, a small station in the garage, mudroom, or on a balcony works fine. Use a lidded, step-open bin so you never touch it, and empty it into the outdoor trash the same day.
What You Need to Build Your Station
Here’s the basic setup, and it doesn’t take much:
- A lidded trash bin: A 5-gallon bucket with a tight-fitting lid, or a small 10-gallon lidded can, is perfect. Look for one with a step pedal so you can open it hands-free while holding a leash or poop bag.
- A bag dispenser mounted nearby: Screw a simple bag dispenser to a fence post, garage wall, or the bin itself. Refill it from bulk rolls to save money.
- A small scoop or rake: For yard pickup, a dedicated pooper-scooper or rake-and-tray set means you don’t have to bend down for every pile.
- A hook for gloves and hand sanitizer: Keep a bottle of sanitizer right at the station so cleanup ends hygienically.
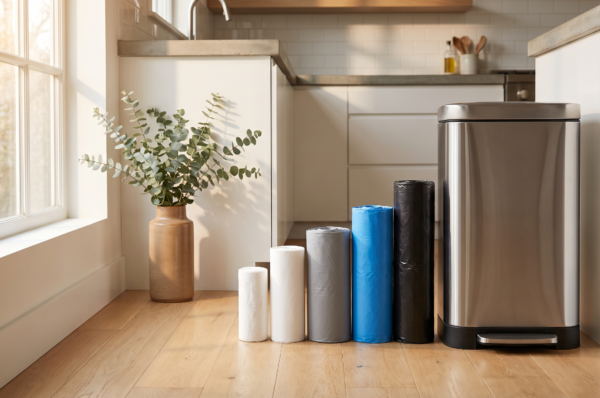
For the bin liner, use a durable small trash bag that won’t tear when you lift out a week’s worth of waste. Melplas’s small-count drawstring bags are a good fit here—they’re thick enough to hold up without leaking, and the drawstring cinches shut to lock in odor until trash day. Whatever bag you choose, avoid flimsy grocery store bags that puncture easily; a torn bag defeats the entire purpose of the station.
Managing Odor Between Trash Days
Even with a lid, an outdoor waste bin can get smelly in July. A few tricks keep it under control:
- Double-bag in summer. Heat accelerates odor, so an extra layer matters most in June through August.
- Sprinkle baking soda in the bottom of the bin before inserting a new liner. It absorbs moisture and neutralizes smell cheaply.
- Rinse the bin monthly. Hose it out, scrub with a 1:10 bleach-to-water solution, rinse well, and let it dry in the sun before relining.
- Keep the bin in shade. Sunlight heats the plastic and amplifies odor dramatically.
Eco-Friendly Disposal Options Worth Considering
In-Ground Waste Digesters
A dog waste digester is essentially a mini septic system for your yard. You bury a container with holes in the sides, drop in waste, and add digester powder and water. Waste breaks down into the soil harmlessly. They run $30–$100 and work well in most soils, though heavy clay soil drains poorly. Never place one near a vegetable garden, well, or waterway.
Composting—With a Big Caveat
Standard backyard compost piles don’t get hot enough to kill the pathogens in pet waste, so never add dog waste to compost you’ll use on food gardens. If you want to compost pet waste, it needs a dedicated, separately managed pile used only for ornamental plants—and most homeowners are better off skipping this entirely.
Trash Pickup
For most households, bagging waste securely and sending it to the landfill remains the most practical option. The key is containment: well-sealed, puncture-resistant bags keep waste out of the landfill’s loose waste stream and prevent leakage in your bin and the garbage truck.
Handling Indoor Accidents
When your dog has an accident inside, clean it properly to prevent repeat visits to the same spot. Remove solid waste with a dedicated bag, then blot—don’t rub—the area with an enzymatic cleaner. Enzymatic cleaners actually break down odor-causing compounds, unlike ammonia-based cleaners, which smell enough like urine that they can attract dogs back. Keep a small stash of accident supplies in your indoor station so you’re not hunting for paper towels at midnight.
A Sample Weekly Routine
- Daily: Pick up the yard during your walk or right after feeding times. Consistency is everything—waste left more than a day starts to break down and smell.
- Weekly: Tie off the bin liner, double-bag if it’s hot out, and set it out with your regular trash.
- Monthly: Wash and disinfect the bin, restock bags, and check your dispenser.
The Bottom Line
A dog waste station is one of those small weekend projects that pays off every single day. Ten minutes and about $40 in supplies gets you a cleaner yard, a fresher kitchen trash can, and a pickup routine that actually sticks. Your nose— and anyone who uses your backyard—will thank you.