There is a specific sound that every homeowner dreads. It isn’t the alarm clock or the doorbell. It’s the low, guttural groan of a garbage disposal struggling to chew through dinner scraps. Then comes the silence, followed by the realization that the water is draining… slowly.
We have all been there. The garbage disposal is one of the most hardworking appliances in the American kitchen, yet it is often the most neglected. We treat it like an invincible black hole, shoveling in everything from potato peels to chicken bones, expecting it to perform magic.
But when a disposal fails, it creates a massive mess. You are left with standing water, foul odors, and—eventually—a sink full of food waste that has to be fished out by hand.
This guide is about breaking that cycle. We are going to cover how to maintain your disposal so it runs quietly and smells fresh. And, because we know accidents happen, we will also touch on the best way to handle the heavy-duty cleanup when nature calls.
The “Do Not Flush” List: Protecting Your Pipes
Before we talk about cleaning, we have to talk about prevention. Most disposal jams and clogs aren’t mechanical failures; they are user errors. The blades inside your unit aren’t sharp blades like a blender—they are blunt impellers that spin at high speed to liquefy food. They need help.
To keep your system humming, avoid putting these items down the drain:
- Fibrous Vegetables: Celery stalks, asparagus, and corn husks contain fibers that can wrap around the disposal’s motor. Instead of chopping, these items tangle and burn out the motor.
- “Starchy” Skins: Potato and onion peels are thin but dangerous. They can slip past the grinder and settle in the trap at the bottom of the pipe, where they expand and turn into a glue-like paste that blocks water flow.
- Fats and Grease: Hot grease might look liquid when you pour it, but it solidifies the moment it hits your cold pipes. Over time, it creates a stubborn clog that no amount of grinding will fix.
- Eggshells: There is a myth that eggshells sharpen the blades. They don’t. The membranes inside the shell can wrap around parts, and the shell itself turns into a sand-like grit that clogs drains.
- Coffee Grounds: In small amounts, they are okay. But in bulk? They pack down into a dense sediment that is notorious for stopping up sink drains.
The Weekly Reset: Cleaning Without Chemicals
If your kitchen has a faint smell of rot, it is likely coming from the splash guard (the rubber ring at the top) or the walls of the disposal chamber. Food particles get stuck in the crevices and start to break down.
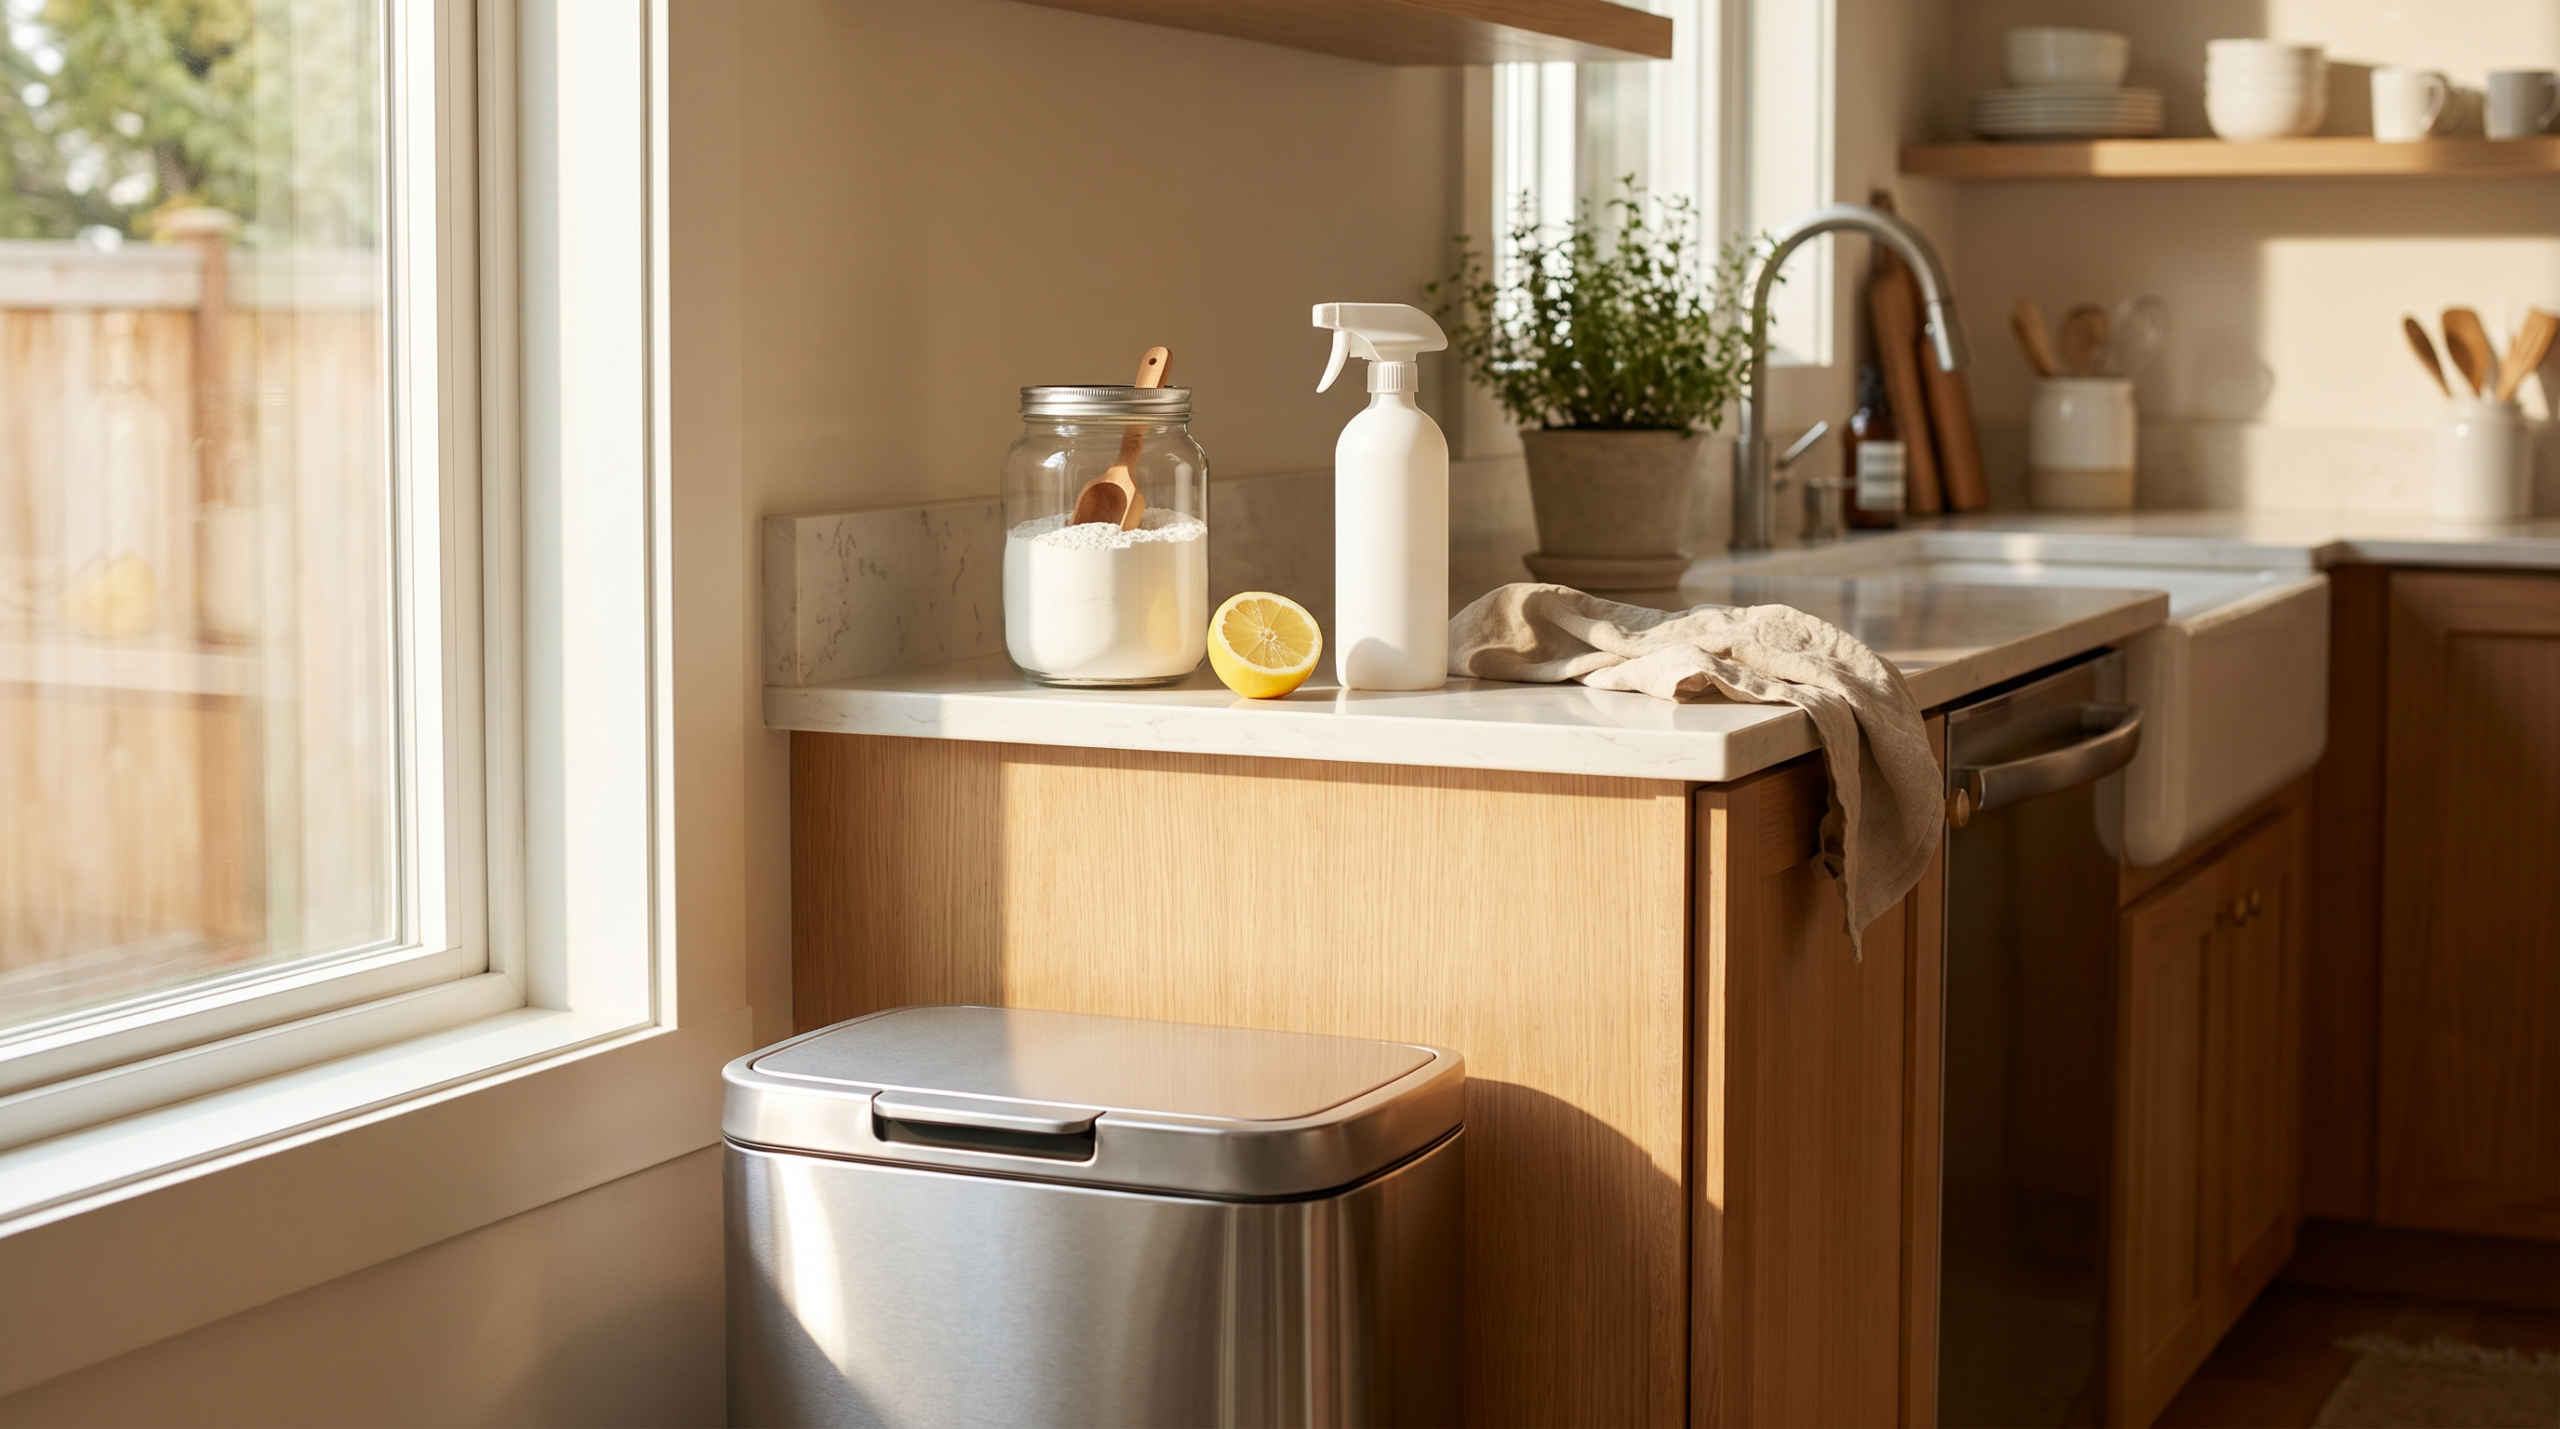
You do not need harsh chemicals to fix this. In fact, bleach can damage the metal parts of your disposal. Instead, use this natural, mechanical cleaning routine once a week or whenever you notice a funk.
Step 1: The Ice Cube Scrub
This is the easiest way to knock loose the grime sticking to the interior walls. Grab a tray of ice cubes from the freezer. Pour them into the running disposal with the cold water running. The hard ice acts like a scrubber, physically knocking debris off the walls and grinding it up.
Step 2: The Rock Salt Abrasive
For a deeper clean, mix a cup of rock salt with a cup of ice. Rock salt is coarse and acts as a gentle abrasive that won’t damage the disposal but will scrape away stubborn sludge. Run this mixture through with cold water.
Step 3: The Citrus Deodorizer
Now that the grime is loose, it is time to freshen the air. Throw a few lemon or lime wedges into the unit. As they grind, they release citric acid and fresh oils that neutralize odors naturally. It is a satisfying, non-toxic way to make the kitchen smell clean.
Handling the Big Jobs: When You Can’t Use the Disposal
Sometimes, you have waste that simply shouldn’t go near the sink. Maybe you are carving a pumpkin, shucking corn for a summer BBQ, or you accidentally dropped a small chicken bone that the disposal just couldn’t handle.
For these messy, heavy-duty jobs, having a reliable containment strategy is key. You do not want wet, smelly scraps sitting in an open bin on the floor, attracting fruit flies or making a mess if the bag rips.
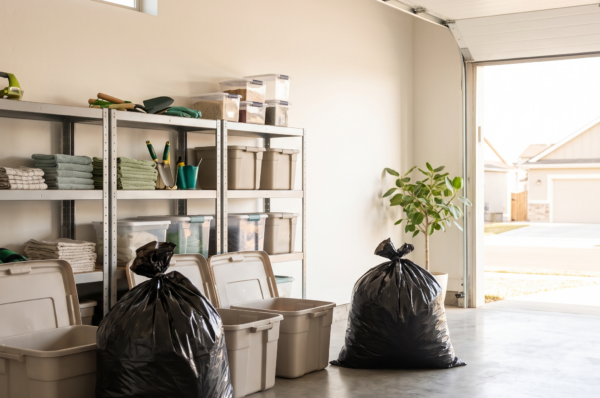
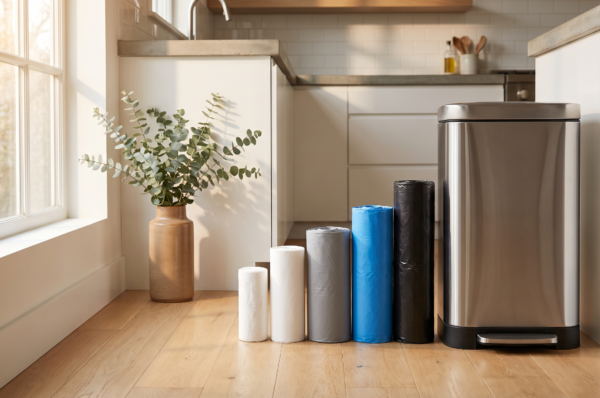
This is where Melplas heavy-duty trash bags earn their keep in the garage or utility room. When you are cleaning out the fridge or handling wet, heavy waste that your disposal can’t manage, you need a bag that won’t burst the moment you lift it. A durable, thick bag ensures that the mess stays contained from the counter to the curb, without the need for double-bagging.
Troubleshooting: What to Do When It Won’t Run
So, you turned the switch, and nothing happened. Don’t panic. Most disposals have a safety feature that shuts the motor off if it overheats or jams.
1. Check the Reset Button
Look at the bottom of your disposal unit (you may need a flashlight under the sink). There is usually a small red button. If the motor tripped, this button will pop out. Unplug the unit (or turn off the breaker), wait for it to cool, press the button back in, and try again.
2. Use the Allen Wrench
Most units come with a little hex key (Allen wrench) that fits into a hole at the bottom of the disposal. If something is physically jamming the blades, inserting this wrench and manually turning it back and forth can free the obstruction.
Final Thoughts on Kitchen Hygiene
Your garbage disposal is a luxury, not a trash can. Treating it with a little respect—and keeping the fibrous scraps out—will save you hundreds of dollars in plumbing bills and keep your kitchen smelling fresh.
By combining a smart weekly cleaning routine with a sturdy bag for the heavy stuff, you can handle whatever your family throws at you.