Let’s be honest: recycling can feel like a chore. You stand in front of your bin with a rinsed-out yogurt tub, wondering, “Is this a 1 or a 5? Can the lid go in?” It’s confusing, and when the system is confusing, we tend to toss things in the trash just to be safe. But if we want to keep our homes sustainable and reduce what we send to the landfill, we need a better system.
The problem usually isn’t a lack of desire; it’s a lack of setup. Most American kitchens aren’t designed with recycling in mind. We cram a tiny blue bin under the sink and hope for the best. Today, we’re going to fix that. We’re going to build a sorting system that is so easy, the whole family can use it without asking questions.
Audit Your Local Rules (The Golden Rule)
Before you buy a single bin or organizer, you need to know what you’re actually shooting for. Recycling rules vary wildly by municipality. What works in Portland might be a contamination nightmare in rural Georgia.
Do a quick Google search for “recycling guidelines [your city]” or look at the side of your city-issued bin. You are looking for a definitive list of what is accepted and what is not. Print this list out and stick it on the fridge. This eliminates the guesswork that leads to “wish-cycling”—tossing things in the bin that you hope are recyclable but actually just jam up the machinery.
Zone Your Space: The Station Setup
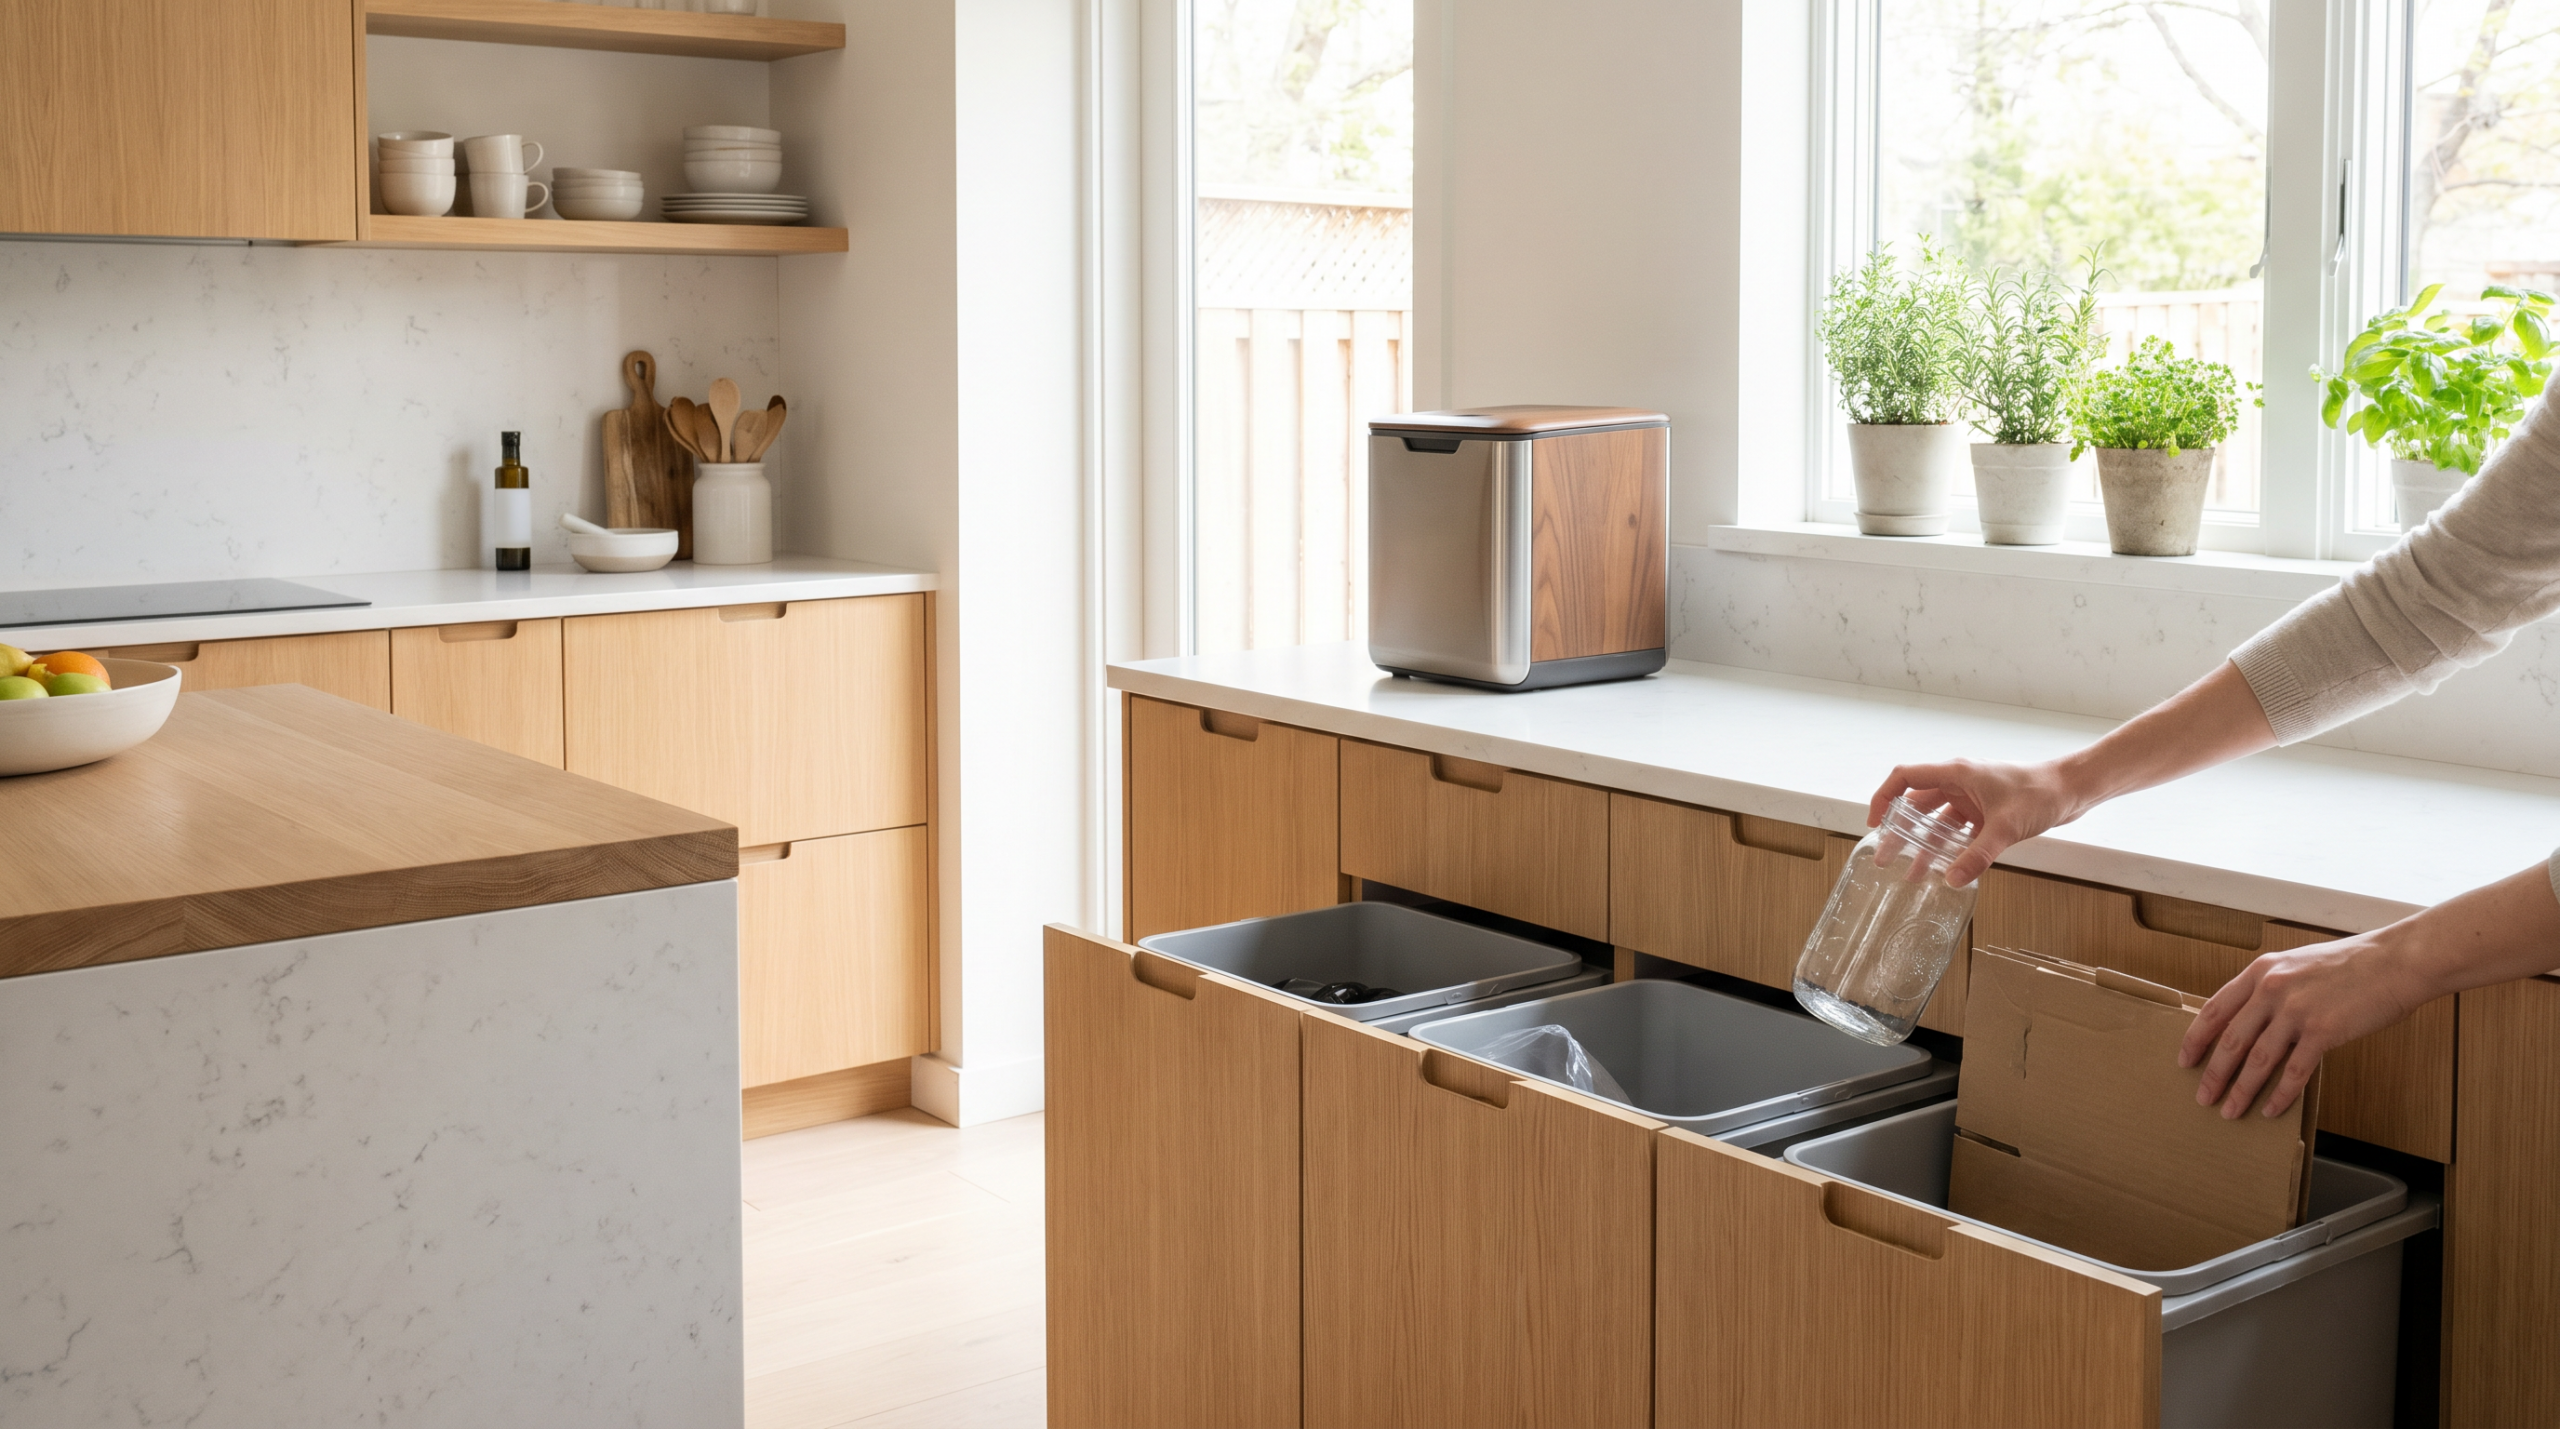
You cannot sort effectively if you don’t have a designated zone. The best recycling stations have three components: Compost, Recyclables, and Landfill Trash.
1. The Trash Can (The Last Resort)
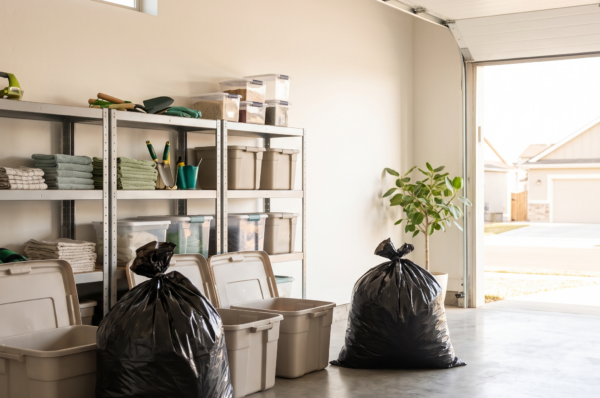
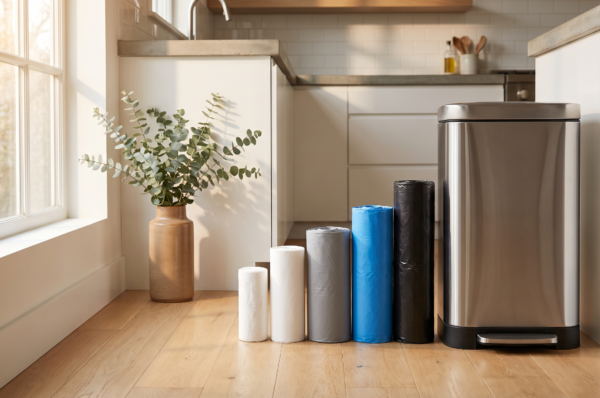
This should be the smallest bin in the kitchen. If you are recycling and composting correctly, this shouldn’t fill up fast. Because this is where the wet, smelly stuff goes, durability matters. You don’t want a leaky bag ruining your cabinet. This is where we typically recommend a heavy-duty solution, like our Melplas heavy-duty trash bags, which handle sharp glass edges or heavy food scraps without tearing. A strong bag means you don’t have to double-bag, which cuts down on plastic waste right there.
2. The Recycling Stream
Depending on your city, you might need a separate bin for paper/cardboard and another for plastics/glass, or you might have single-stream recycling. If you have the space, pull-out double bins are a game-changer. If you’re tight on space, use stackable crates.
3. The Compost Bucket
Food scraps shouldn’t go in the trash. They create methane in landfills and make your kitchen smell. A countertop bin with a charcoal filter for coffee grounds and eggshells is essential. Empty it into a outdoor pile or a green bin nightly.
The Decoding Guide: Plastics 101
The biggest pain point is always plastic. Those little triangle numbers can be deceptive. Here is a practical guide to what those numbers actually mean for your kitchen:
- #1 (PET or PETE): Water and soda bottles. These are highly recyclable. Keep the caps on (modern technology handles this better than loose caps).
- #2 (HDPE): Milk jugs, detergent bottles, shampoo bottles. Very recyclable. Rinse them out well.
- #3 (PVC): rarely recyclable curbside. Avoid when buying.
- #4 (LDPE): Squeeze bottles, shopping bags, plastic wrap. Not usually curbside recyclable. Most grocery stores have drop-off bins for these.
- #5 (PP): Yogurt tubs, margarine containers. Many cities do not take these. Check your local list carefully.
- #6 (PS): Styrofoam. Almost never recyclable curbside.
Cleaning and Sorting Hacks
One of the main reasons people stop recycling is the mess. Sticky residue attracts bugs and smells. Here is how to keep it clean:
Rinse Immediately
Don’t let peanut butter jars sit on the counter for three days. Rinse them as soon as you are done with the dishes. You don’t need to scrub them with soap, just a quick hot water rinse to remove the bulk of the food.
Flatten Cardboard
Amazon boxes and cereal boxes take up massive amounts of air space. Break them down flat immediately. This turns three trips to the curb into one.
Keep a “Dry” Bin
If you have the space, try to keep paper and cardboard separate from glass and plastic. If a glass jar breaks in your bin, glass shards get embedded in the cardboard, rendering the whole batch unrecyclable.
Handling the “Weird” Stuff
What about the stuff that isn’t quite trash but isn’t recyclable?
- Batteries: Never put these in curbside bins. They cause fires in recycling trucks. Collect them in a small plastic tub (like an old butter tub) and take them to a Home Depot or Staples drop-off.
- Electronics: Best Buy and many local e-waste centers will take old cables and phones.
- Textiles: Old clothes? Goodwill or Salvation Army will even take damaged clothes for rag recycling.
Making it Stick
The key to a sustainable kitchen is consistency. Once you have your zones set up, give it two weeks. It takes about 14 days for a new habit to feel automatic. Label your bins clearly. If the kids can’t read, use pictures: a bottle for plastic, a box for paper, an apple core for compost.
By setting up a dedicated station and understanding exactly what your facility accepts, you stop feeling guilty about the environment and start feeling efficient. And when you do have to take out the trash—hopefully much less often now—you’ll want a bag that you know won’t split open on the way to the curb. Using a durable, tear-resistant option ensures that all your hard work sorting doesn’t end up as a mess on the sidewalk.