Deep Clean Your Kitchen: Step-by-Step Guide
There’s nothing quite like the satisfaction of a sparkling clean kitchen. Beyond just surface tidying, a deep clean can transform your cooking space into a more hygienic, organized, and enjoyable area of your home. Whether you’re preparing for a special occasion, following a seasonal cleaning routine, or just tackling accumulated grime, this comprehensive guide will walk you through the process of deep cleaning your kitchen efficiently and effectively.
Preparing for Your Kitchen Deep Clean
Before diving into the cleaning process, proper preparation will make your task more manageable and effective. Having everything ready at the outset prevents unnecessary interruptions and helps you maintain momentum throughout the cleaning process.
Gather Your Supplies
Collect all necessary cleaning supplies before you begin. This includes:
- All-purpose cleaner
- Degreasing agent
- Glass cleaner
- Disinfectant
- Baking soda
- White vinegar
- Microfiber cloths
- Scrub brushes
- Old toothbrushes for crevices
- Step stool for reaching high areas
- Durable trash bags for collecting waste
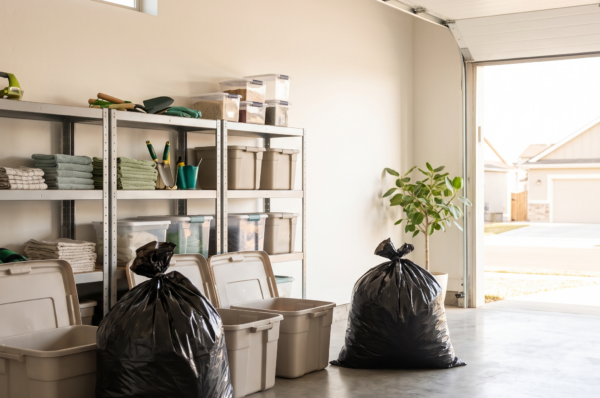
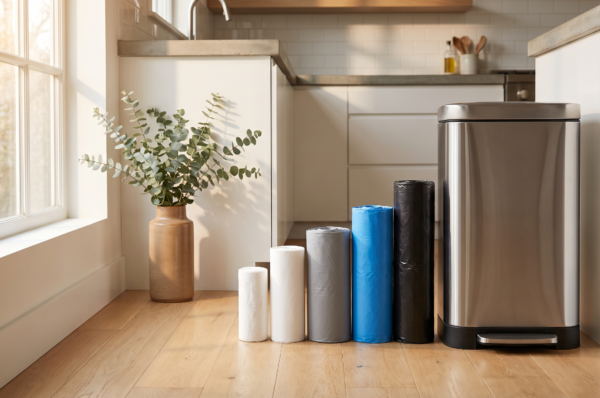
Using quality trash bags like Melplas’s heavy-duty options ensures that all the debris and clutter you collect will be contained securely, even if it includes sharp or heavy items from your kitchen cleanup.
Clear and Declutter First
Remove everything from countertops, tables, and other surfaces. This includes small appliances, utensil holders, decorative items, and any other objects that typically occupy these spaces. As you remove items, evaluate whether you truly need them. This is an excellent opportunity to declutter and reduce kitchen chaos.
Designate separate areas for items you’re keeping, donating, or discarding. Having a sturdy trash bag on hand makes it easy to dispose of broken or unusable items immediately rather than letting them continue to take up valuable space in your kitchen.
Create a Cleaning Sequence
Work from top to bottom in your kitchen. This logical sequence prevents dirtying areas you’ve already cleaned. Start with ceilings and light fixtures, then move to walls, windows, upper cabinets, countertops, lower cabinets, and finally, the floor. This systematic approach ensures that dust and debris fall onto areas that haven’t yet been cleaned.
Tackling Kitchen Surfaces
With preparation complete, it’s time to start the actual cleaning process. Different surfaces require specific cleaning approaches for optimal results.
Ceiling, Walls, and Windows
Begin with the ceiling, using a duster with an extension pole to remove cobwebs and dust. Pay special attention to corners and light fixtures. For walls, start by dusting from top to bottom, then wipe down with a damp microfiber cloth. For stubborn spots, use a mild detergent solution.
Clean windows inside and out using a glass cleaner or a solution of equal parts white vinegar and water. Don’t forget window sills and tracks, which often accumulate significant dirt and debris.
Cabinets Inside and Out
Kitchen cabinets collect grease, food particles, and dust over time. Start by emptying all cabinets, wiping down the interior surfaces with a damp cloth and appropriate cleaner. Pay attention to corners and crevices where crumbs tend to accumulate.
For cabinet exteriors, the cleaning approach depends on the material. Wood cabinets may require specialized wood cleaner, while laminate or painted surfaces can typically be cleaned with an all-purpose cleaner. Don’t forget cabinet hardware, which can be removed and soaked in warm, soapy water for thorough cleaning.
As you clean out cabinets, consolidate similar items and discard expired food products or worn-out utensils. Having a durable trash bag like those from Melplas ensures you can dispose of all this waste efficiently without worrying about leaks or tears.
Deep Cleaning Kitchen Appliances
Appliances require special attention during a kitchen deep clean. These workhorses of the kitchen often harbor hidden dirt and bacteria that regular cleaning might miss.
Refrigerator and Freezer
Empty the refrigerator completely, placing perishable items in a cooler while you work. Remove all shelves and drawers, washing them in warm, soapy water. Wipe down the interior with a solution of equal parts white vinegar and water, which naturally disinfects without harsh chemicals.
Pay special attention to door seals, where mold and mildew can accumulate. While the refrigerator is empty, check expiration dates on all food items before returning them to the clean appliance. This is an ideal time to organize items by category and temperature requirements.
Oven and Stovetop
If your oven has a self-cleaning function, run it according to manufacturer instructions. Otherwise, apply a commercial oven cleaner or create a paste with baking soda and water, letting it sit overnight before scrubbing away baked-on grime.
For stovetops, remove grates, burner caps, and knobs, soaking them in warm, soapy water. Wipe down the stovetop surface with a degreaser, paying special attention to areas around burners where food tends to splatter.
Dishwasher and Microwave
Clean your dishwasher by placing a cup of white vinegar in a dishwasher-safe container on the top rack and running a hot cycle. This helps remove buildup and odors. Wipe down the door seal and edges where grime accumulates.
For microwaves, place a microwave-safe bowl with equal parts water and white vinegar inside. Heat for 5 minutes, then let stand for 3 minutes before removing. The steam will loosen baked-on food, making it easy to wipe away with a damp cloth.
Finishing Touches: Countertops, Sink, and Floor
The final phase of your kitchen deep clean focuses on the surfaces that see the most daily use.
Sanitize Countertops
Different countertop materials require specific cleaning approaches. Natural stone like granite or marble should be cleaned with pH-neutral cleaners to avoid damage, while laminate surfaces can typically handle stronger cleaners. Always follow manufacturer recommendations for best results.
After cleaning, sanitize countertops using a food-safe disinfectant or a solution of one tablespoon of bleach to one gallon of water. Allow the disinfectant to air dry for maximum effectiveness.
Deep Clean the Sink
Kitchen sinks harbor more bacteria than most bathroom surfaces. Start by spraying the sink with a disinfectant cleaner and letting it sit while you clean other areas. Scrub with a non-abrasive sponge or brush, paying attention to drain areas and faucet bases where grime accumulates.
For stainless steel sinks, finish with a specialty stainless steel cleaner to restore shine and prevent water spots. For porcelain sinks, a paste of baking soda and water works well for removing stains.
Floor Finale
The final step in your kitchen deep clean is the floor. Sweep thoroughly to remove all loose debris, then follow with vacuuming, especially along edges and in corners where dust accumulates.
Mop using a cleaner appropriate for your flooring type. For tile or linoleum, a solution of warm water and a small amount of dish detergent works well. For hardwood floors, use a specialty wood floor cleaner to avoid damage. Always wring out mops well to prevent excess water on flooring.
Maintaining Your Clean Kitchen
Now that your kitchen is sparkling clean, implementing a few maintenance habits will help keep it that way longer between deep cleanings.
Daily Maintenance Habits
Develop quick daily cleaning routines to prevent buildup. Wipe down countertops after each meal, immediately clean spills as they happen, and sweep or vacuum high-traffic areas. Taking just 10-15 minutes each day for these tasks will significantly extend the time between necessary deep cleanings.
Weekly Refresh Routine
Establish a weekly cleaning routine that includes wiping down all kitchen surfaces, cleaning appliances exteriors, cleaning the sink, and mopping floors. This moderate cleaning prevents the accumulation of grime that makes deep cleaning more challenging.
Seasonal Deep Clean Schedule
Aim for a complete kitchen deep clean at least twice a year, perhaps in spring and fall. Having a schedule ensures that this important task doesn’t get neglected and that your kitchen remains a clean, healthy space for food preparation and family gatherings.
With this comprehensive deep cleaning guide, your kitchen will not only look better but will also be a more hygienic and pleasant space for cooking and gathering. Remember that using quality supplies, including durable trash bags for efficient waste removal, makes the entire process more effective and less frustrating. Here’s to a cleaner, healthier kitchen!